From breakfast to dinner, from wholesome meals to indulgent desserts, Nexa Recipes offers quick, easy, and delicious ideas for every occasion and every moment.
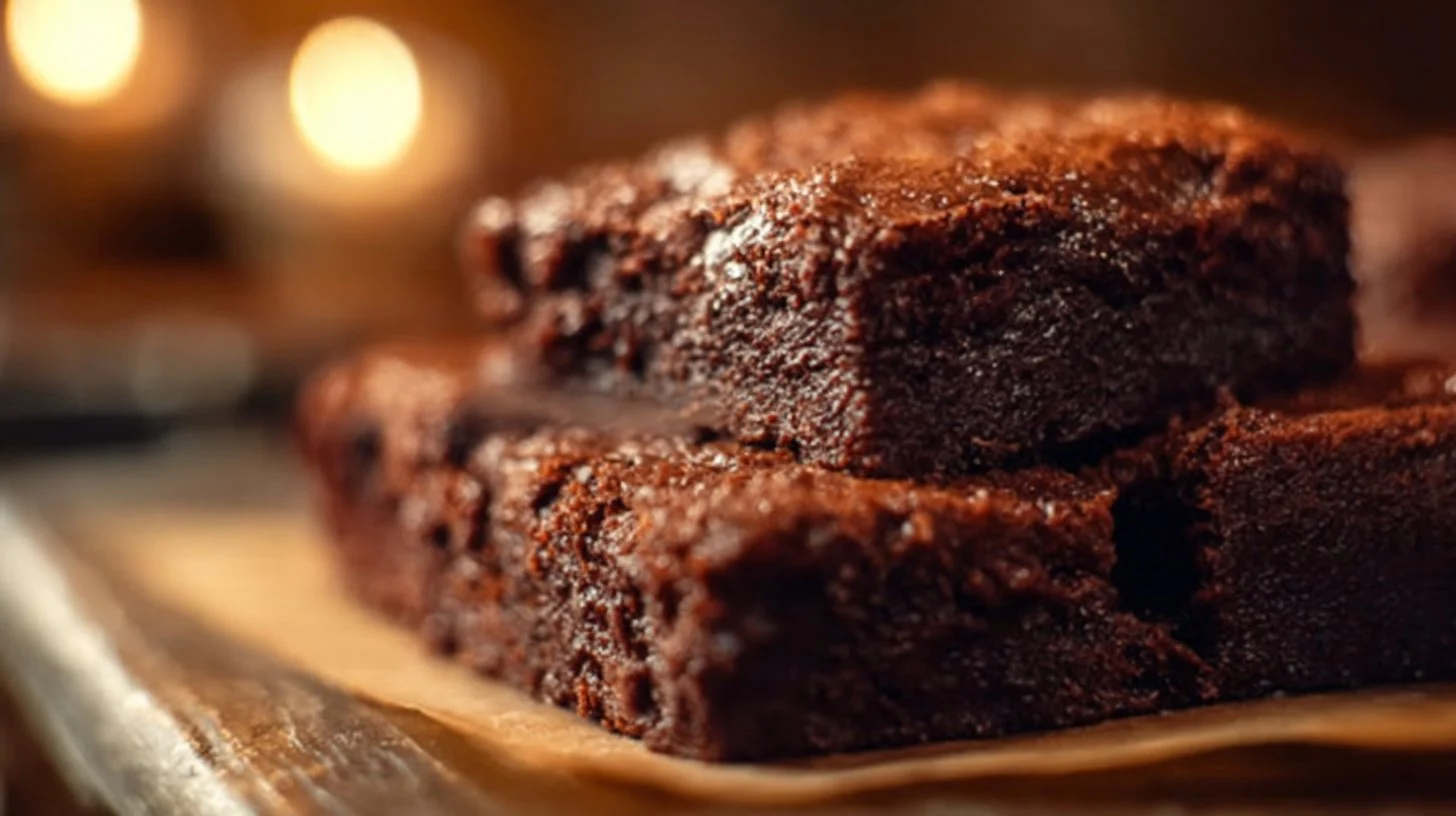
Scotch Brownies deliver a chewy base topped with a crunchy, chocolate-peanut layer. This version balances soft brownies with salty peanuts and crispy Rice Krispies for texture contrast.
You may search for this recipe when you want an easy party dessert or a make-ahead treat. It uses common pantry ingredients and a simple topping technique so you can finish quickly and serve chilled or at cool room temperature.
Why Make This Recipe
You can make this recipe with a single batch of boxed or homemade brownie batter. The base bakes quickly, so total hands-on time is low. That makes it ideal when you need a fast dessert for gatherings.
The topping relies on melting chocolate and peanut butter, then folding in Rice Krispies for crunch. The method is straightforward and forgiving, so it works even if you are not experienced with candy-style toppings.
The final refrigeration step gives the top a firm, sliceable finish. That makes these Scotch Brownies easy to store and transport for potlucks or packed lunches.
How to Make Scotch Brownies
This recipe combines a baked brownie sheet with a warm, spreadable chocolate-peanut layer. The toppings are softened briefly on the hot brownies, then sealed with a melted chocolate and peanut butter mixture that is mixed with Rice Krispies for crispness. Refrigerating the pan helps the topping set firm so you can cut clean squares.
Ingredients
- 1 batch brownies
- 1/2 cup salted peanuts
- 1 cup chopped Reese’s peanut butter cups
- 1 1/2 cup milk chocolate chips
- 1 1/2 cup creamy peanut butter
- 1/2 tablespoon butter
- 1 1/2 cups Rice Krispies Cereal
Directions
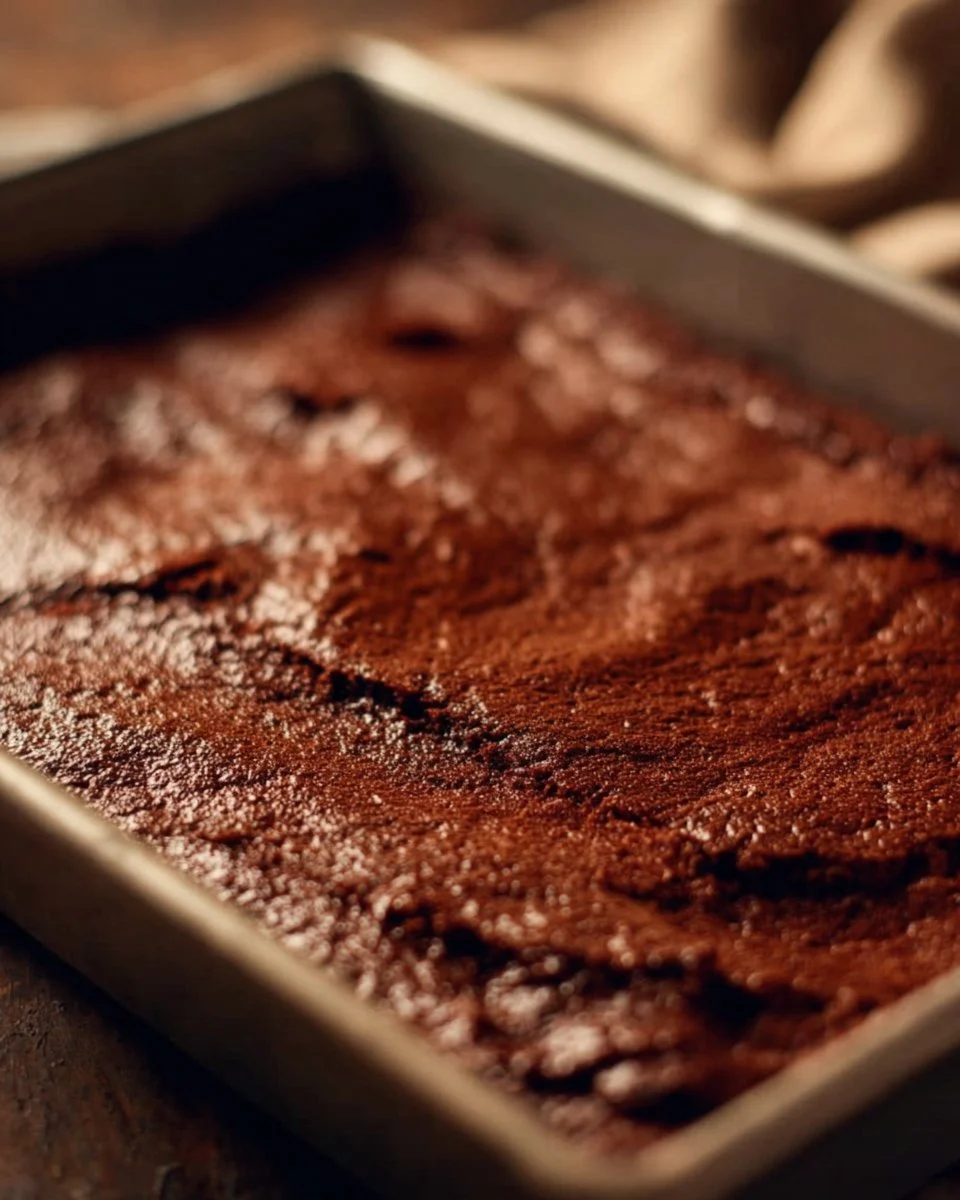
- Mix the brownie batter and pour it into a 9 x 13 pan.
- Bake the brownies for 15 to 20 minutes until set but not overbaked.
- Sprinkle the peanuts and chopped Reese’s peanut butter cups on top of the hot brownies.
- Return the pan to the oven for 5 minutes to soften the toppings.
- In a saucepan, melt the milk chocolate chips with the creamy peanut butter and butter over low heat, stirring until smooth.
- Remove the pan from heat and stir in the Rice Krispies until they are evenly coated.
- Pour the chocolate-peanut-Rice Krispies mixture over the brownies and spread it evenly.
- Refrigerate the brownies for 2 hours to set the top.
- Cut the brownies into squares after the top has set. Serve chilled or at cool room temperature.
How to Serve Scotch Brownies
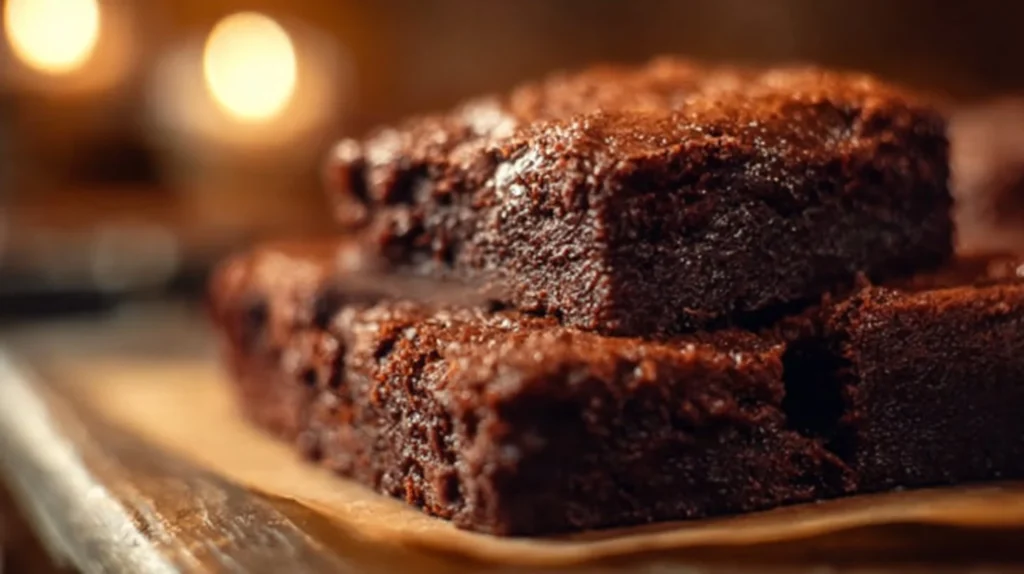
Serve these brownies chilled or at cool room temperature to keep the topping crisp. Cut into small squares for buffet-style serving or larger pieces for dessert plates.
Pair them with a simple cup of coffee, a glass of cold milk, or a lightly sweetened iced tea. For an adult twist, serve alongside a small scoop of vanilla ice cream and a drizzle of warm caramel.
For visual appeal, sprinkle a few extra chopped Reese’s or whole peanuts on each square just before serving. That reinforces the crunchy peanut theme and makes the pieces easier to identify in a mixed dessert tray.
How to Store Scotch Brownies
Store the brownies in an airtight container in the refrigerator. Properly covered, they will keep for up to 5 days without losing much texture.
For longer storage, freeze individual squares on a tray until firm, then transfer to a sealed freezer container. They keep well for up to 2 months. Thaw in the refrigerator before serving to prevent the topping from sweating.
Avoid leaving them at room temperature for more than a few hours in warm conditions. The chocolate-peanut layer can soften and lose crispness.
Tips to Make Scotch Brownies
Follow these tips to get the best texture and flavor.
- Use a firm, not gooey, brownie base so the topping stays level.
- Bake until the brownies are just set; overbaking makes them dry.
- Spread the peanuts and chopped Reese’s while the brownies are hot to slightly melt the candies into the surface.
- Warm the chocolate and peanut butter slowly over low heat to avoid seizing.
- Stir the Rice Krispies quickly after removing from heat to keep them crisp.
- Refrigerate for the full two hours before cutting to ensure clean slices.
- Use salted peanuts to balance sweetness; adjust if you prefer less salt.
- Chill the cut squares on parchment to prevent sticking in the container.
Common Mistakes to Avoid
One common mistake is overbaking the brownies. If the base is dry, the finished squares will lack contrast. Remove the pan when a toothpick shows moist crumbs, not wet batter.
Another issue is overheating the chocolate-peanut mixture. High heat can make chocolate grainy. Melt slowly over low heat and remove from heat before adding the Rice Krispies to preserve the shiny texture.
Variations
Swap milk chocolate chips for dark chocolate for a less sweet finish. Replace the Rice Krispies with crushed cornflakes if you prefer a different crunch. Use mini peanut butter cups instead of chopped standard cups for smaller candy bursts across the top.
FAQs
Can I use a boxed brownie mix?
Yes. A boxed mix works well and saves time. Prepare according to package directions and use the same pan size.
Can I skip the peanuts for allergies?
You can omit peanuts and use pretzel pieces or dry roasted soy nuts for crunch if allergy is a concern.
Will the topping harden at room temperature?
It will firm up but keeps best when chilled. In warm rooms, refrigeration helps maintain structure.
Can I make these ahead?
Yes. Make them up to 4 days in advance and refrigerate. For longer storage, freeze as described above.
What if the chocolate seizes while melting?
If moisture gets in, it can seize. Remove from heat and stir in a small amount of warm cream or additional peanut butter slowly to smooth it.
How large should I cut the squares?
Cut to preference. For finger-food portions, 1.5 to 2-inch squares work well. For plated desserts, cut larger.
Can I use crunchy peanut butter instead of creamy?
Yes, but the topping will be decidedly more textured. Use creamy for a smoother spread.
Conclusion
If you want to compare texture ideas or a similar bar recipe, see this blonde brownie recipe at Devour Dinner for inspiration on butterscotch-style bars.
Scotch Brownies
Scotch Brownies are a chewy brownie base topped with a crunchy chocolate-peanut layer, perfect for parties or make-ahead treats.
Ingredients
Method
Preparation
- Preheat your oven and mix the brownie batter, then pour it into a 9 x 13 pan.
- Bake the brownies for 15 to 20 minutes until set but not overbaked.
- Sprinkle the peanuts and chopped Reese’s peanut butter cups on top of the hot brownies.
- Return the pan to the oven for another 5 minutes to soften the toppings.
Topping Preparation
- In a saucepan, melt the milk chocolate chips with the creamy peanut butter and butter over low heat, stirring until smooth.
- Remove the pan from heat and stir in the Rice Krispies until they are evenly coated.
- Pour the chocolate-peanut-Rice Krispies mixture over the brownies and spread it evenly.
Cooling
- Refrigerate the brownies for 2 hours to set the top.
- Once set, cut the brownies into squares and serve chilled or at cool room temperature.
Notes
Store brownies in an airtight container in the refrigerator for up to 5 days. For longer storage, freeze individual squares. Avoid leaving them at room temperature for long periods in warm conditions.