From breakfast to dinner, from wholesome meals to indulgent desserts, Nexa Recipes offers quick, easy, and delicious ideas for every occasion and every moment.



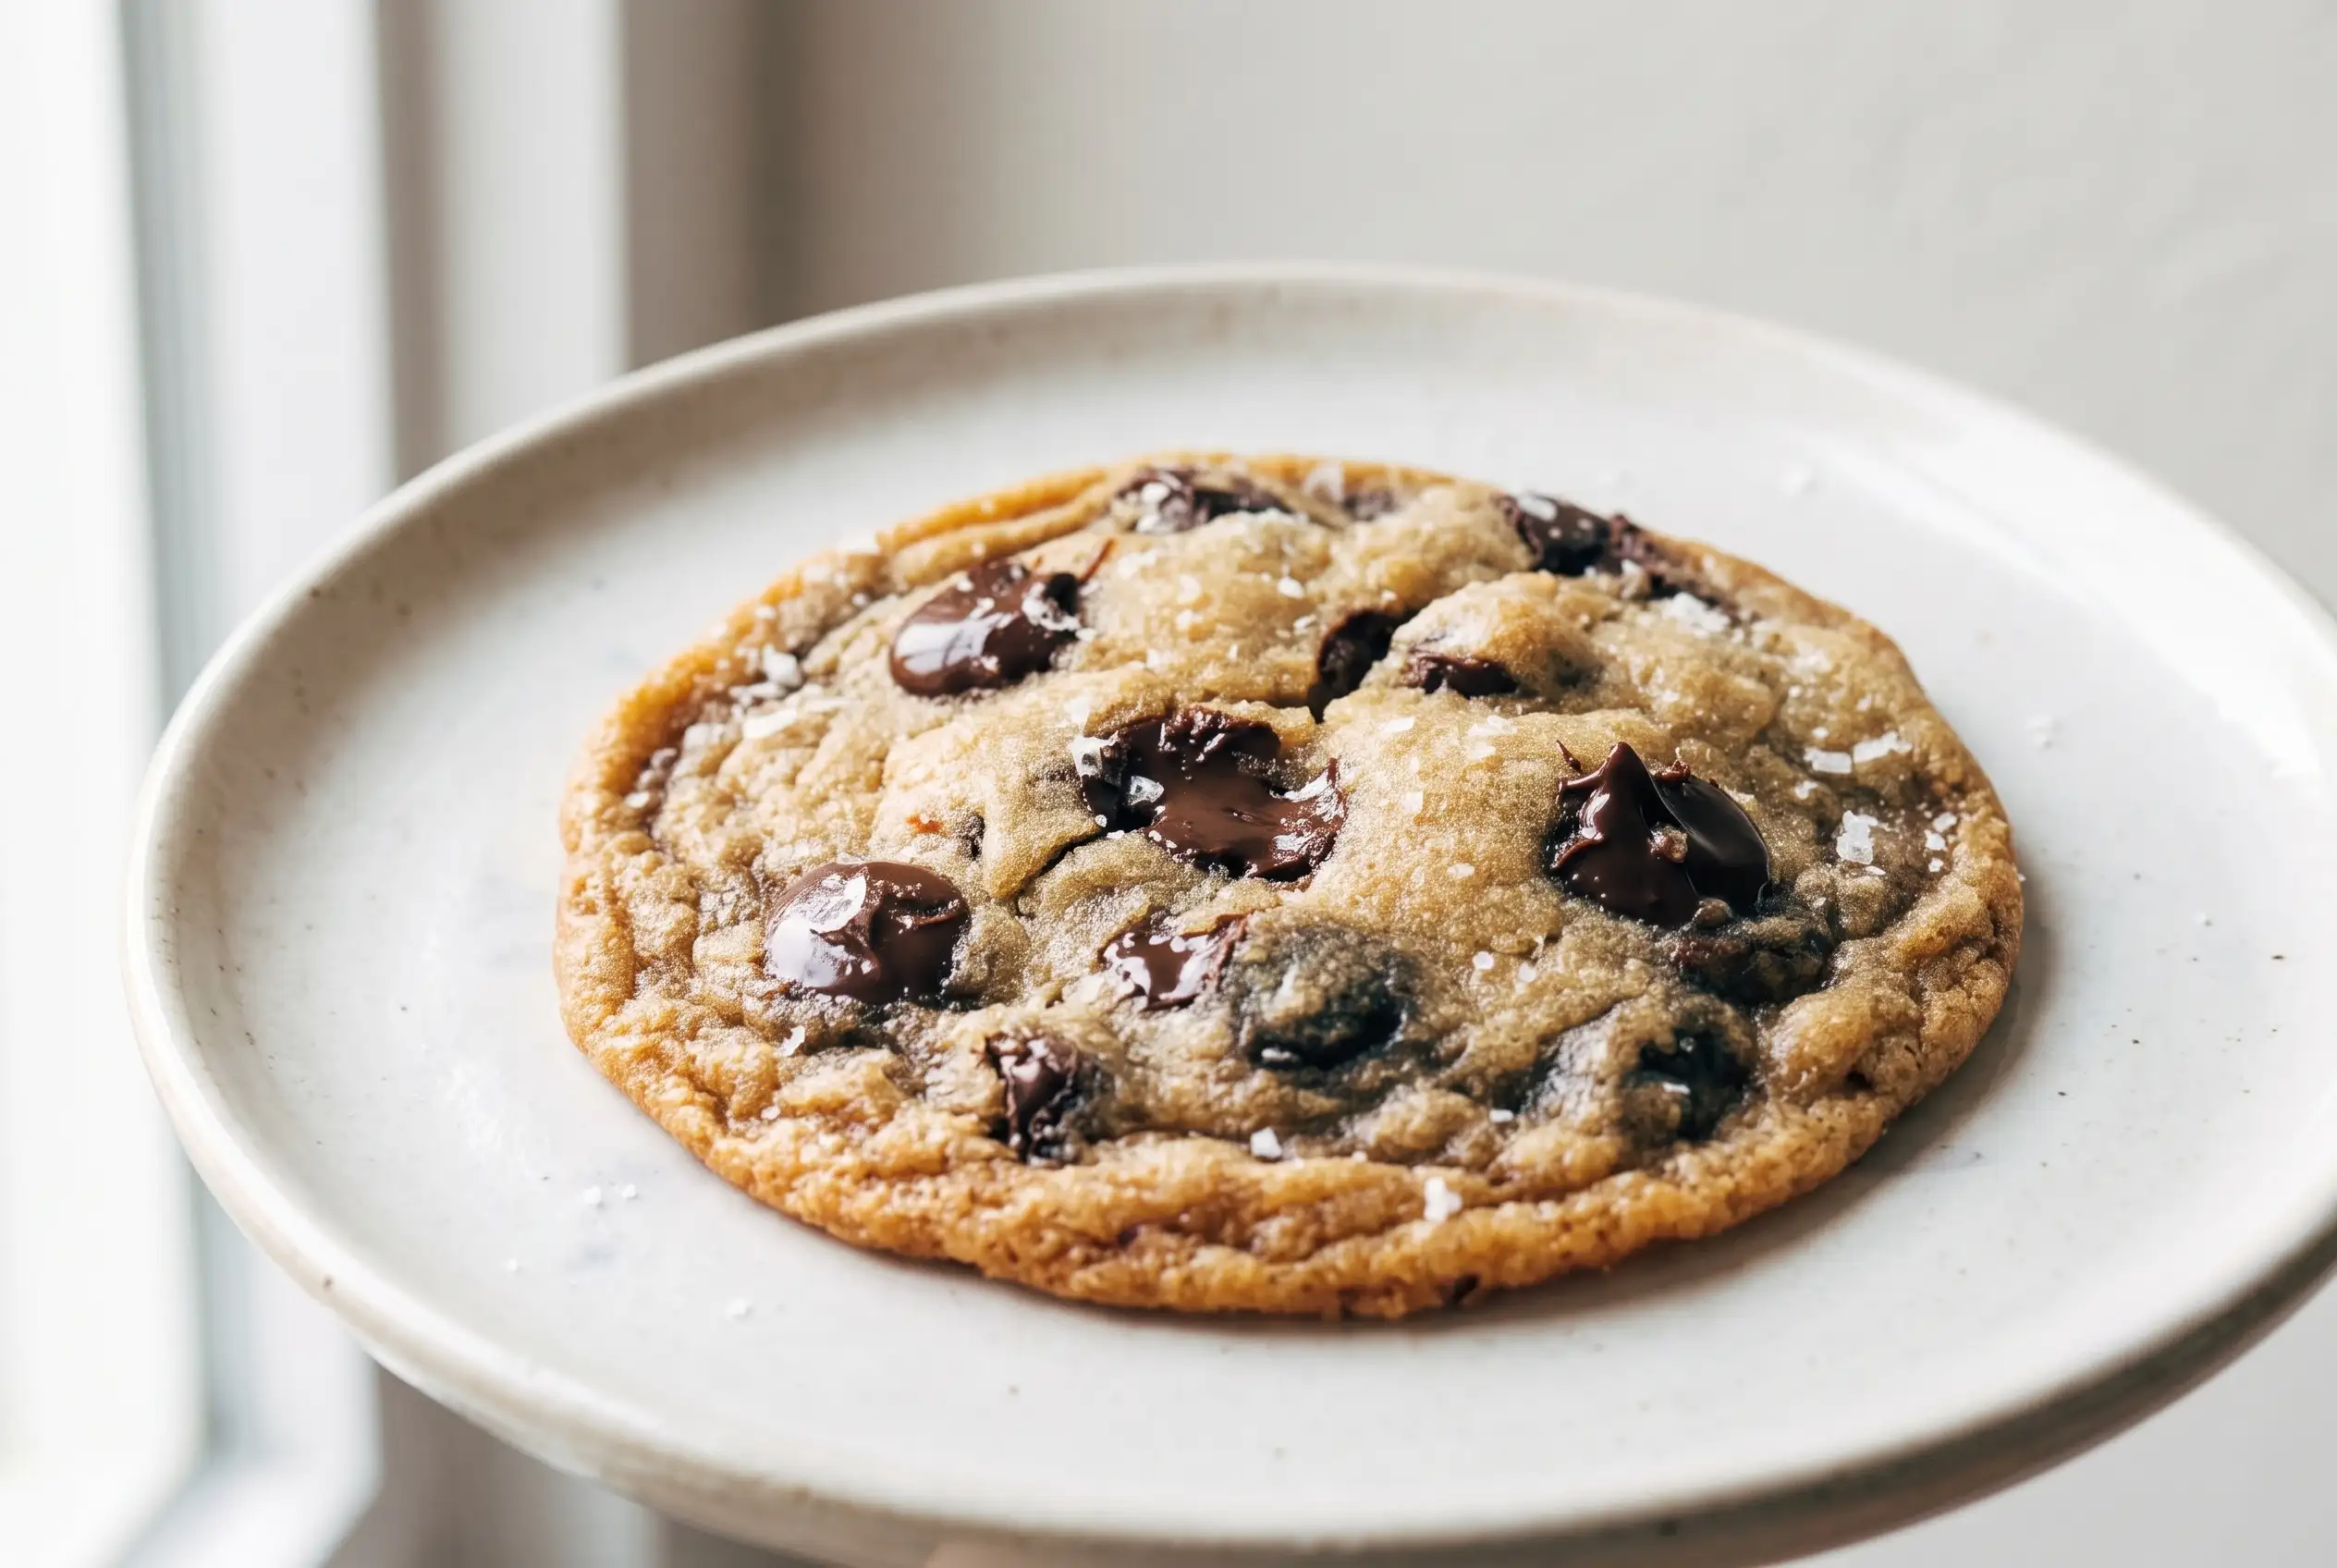 This Recipe
Browned butter cookies bring a rich, nutty flavor to a classic chocolate chip cookie by transforming simple butter into a deeply aromatic base. The browned butter chocolate chip cookies rely on careful timing, dough resting, and balanced baking to create crisp edges with a soft center. Every stage, from watching the butter foam to waiting for the dough to settle, affects the finished texture and flavor.
The combination of brown sugar, white sugar, vanilla, chocolate chips or chunks, and browned butter creates a cookie with layers of sweetness and toasted notes. Understanding the small decisions behind the process helps home bakers achieve consistent results without changing the character of these cookies.
Browned Butter Cookies Capture Deep Caramel Flavor
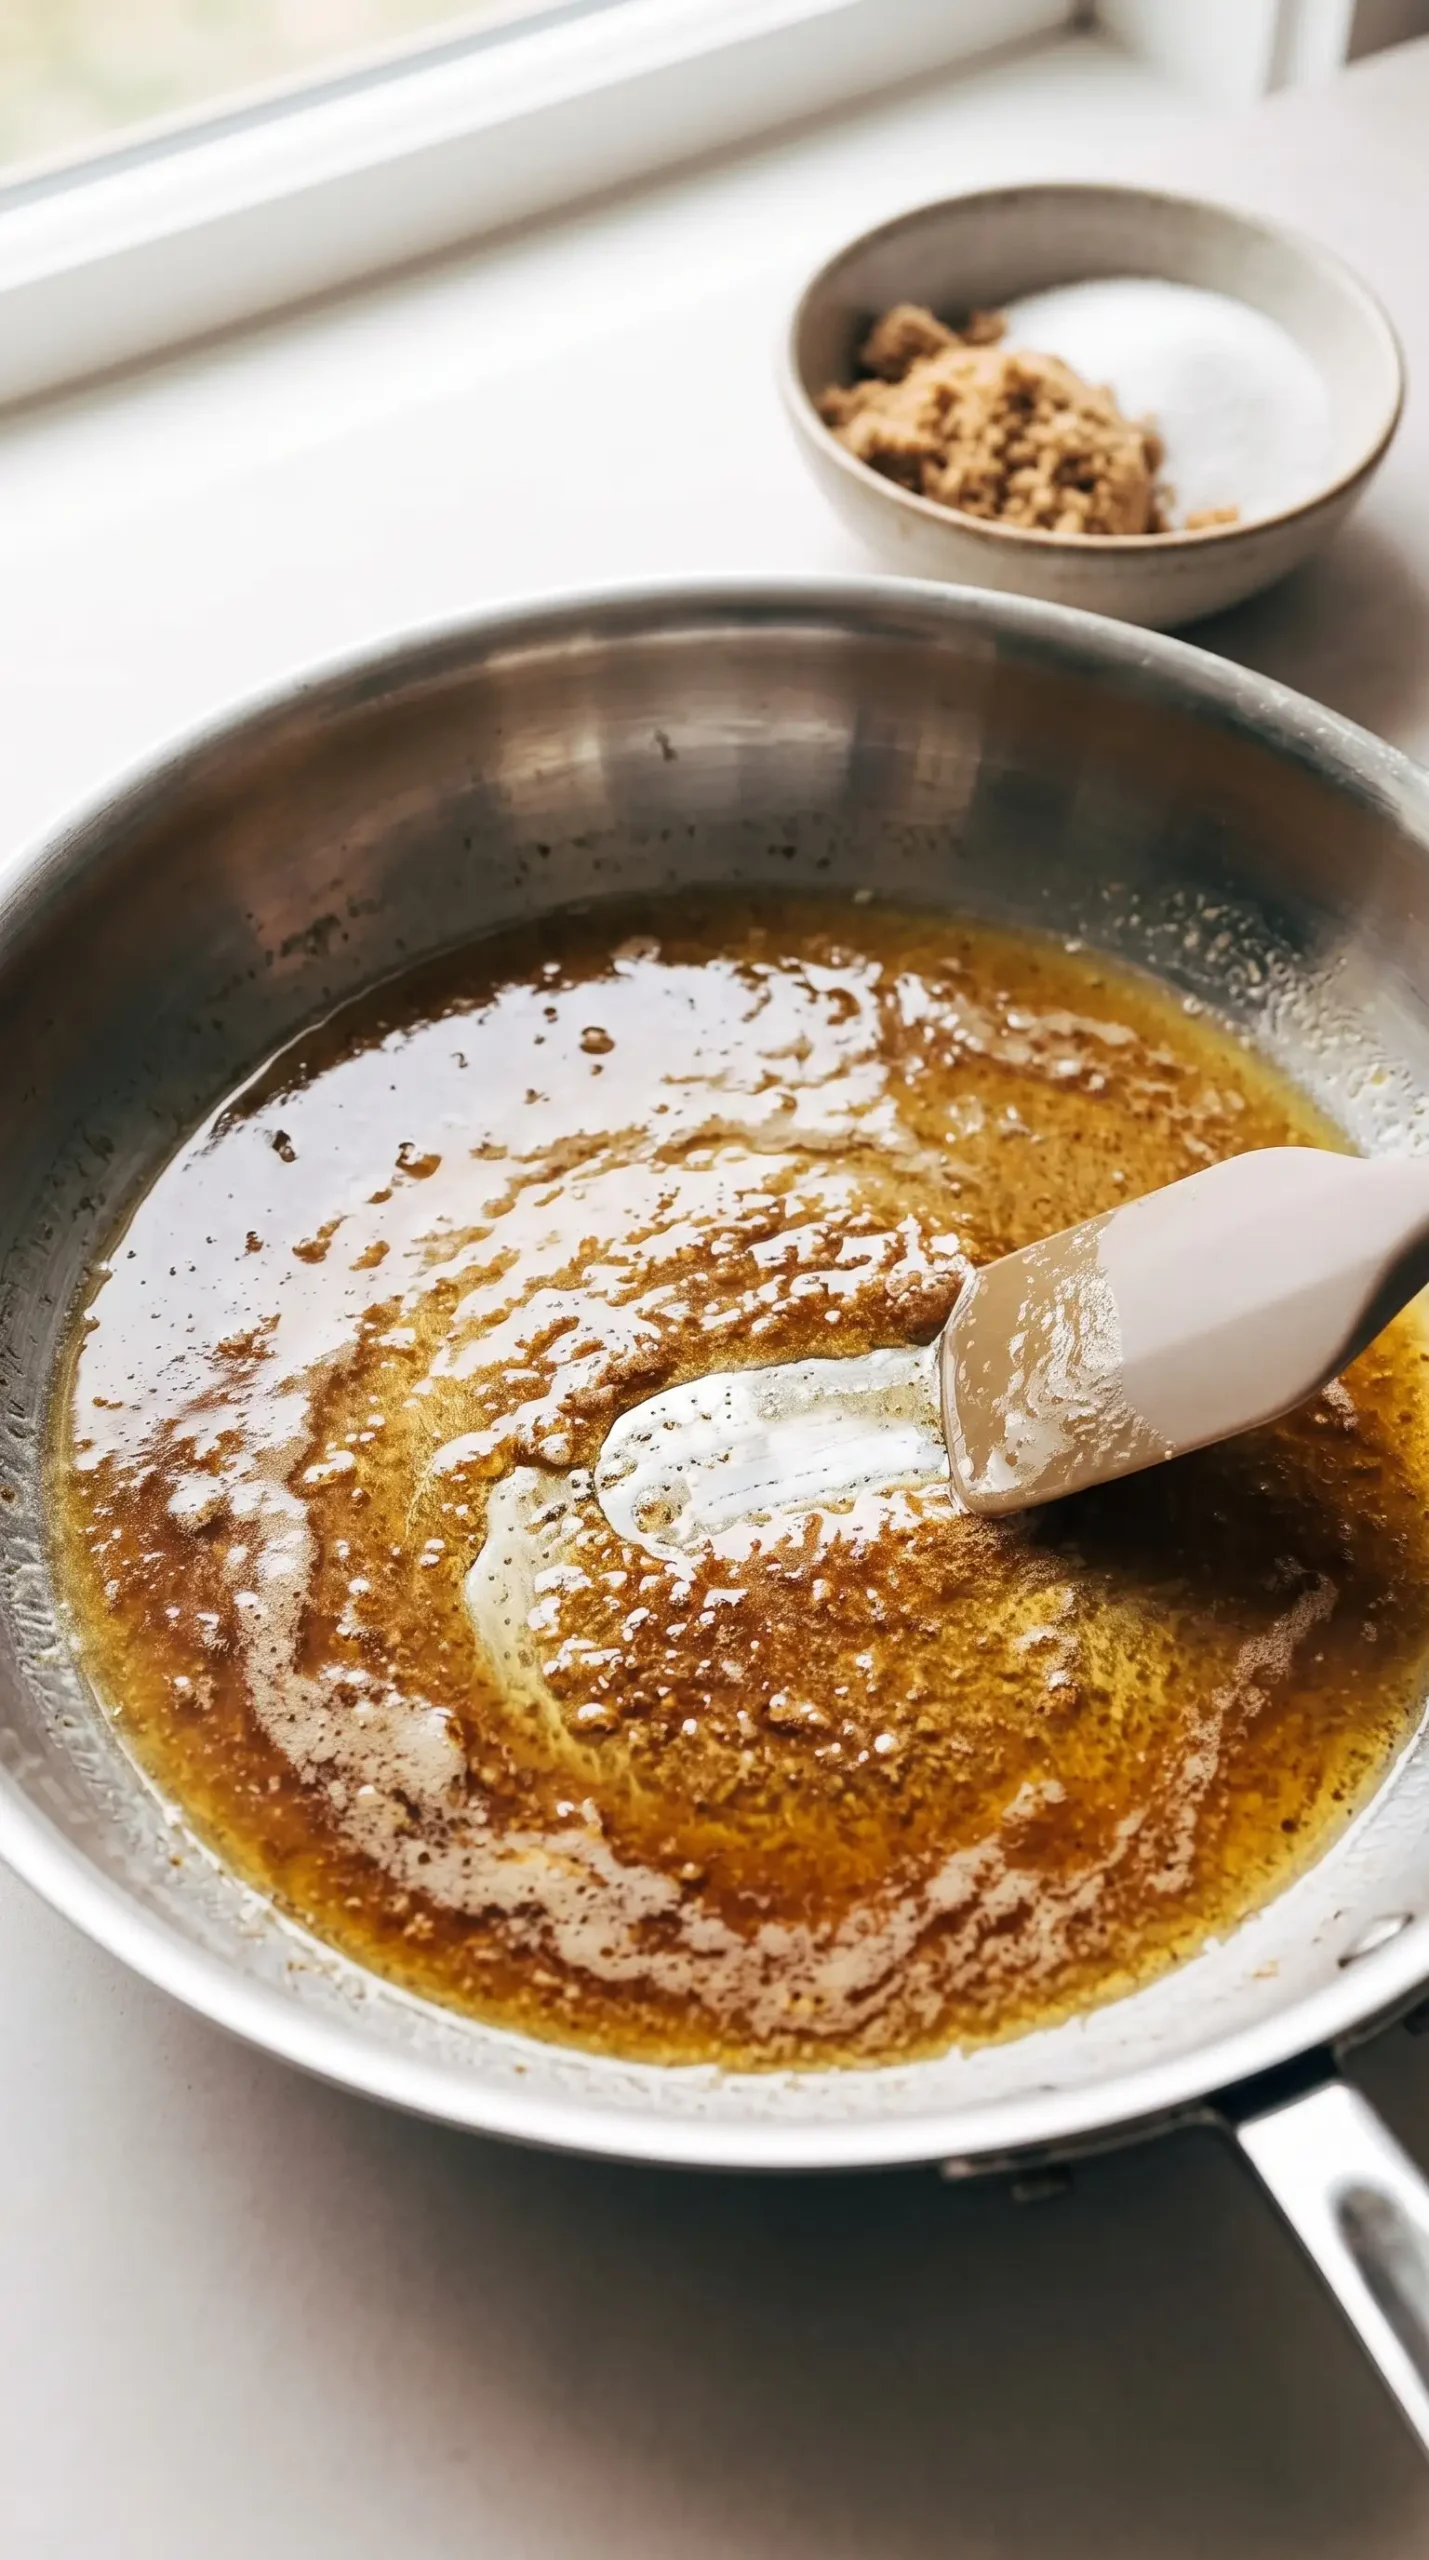
The signature flavor begins when the butter is gently heated until the milk solids begin to toast and turn golden brown. During this transformation, the butter develops a toasted aroma that carries through the entire dough. Removing the butter at the right moment matters because the color changes quickly once browning begins.
Cooling the butter after browning protects the dough structure and prevents the chocolate pieces from melting too early. The cooled butter still provides the same concentrated flavor while allowing the remaining ingredients to combine properly.
Many chocolate chip cookies depend mostly on sweetness and chocolate for character, but browned butter cookies create a more complex profile. The nutty butter notes work alongside the sugars and vanilla, giving each bite a deeper finish.
Brown Butter Chocolate Chip Cookie Texture Starts With Resting Dough
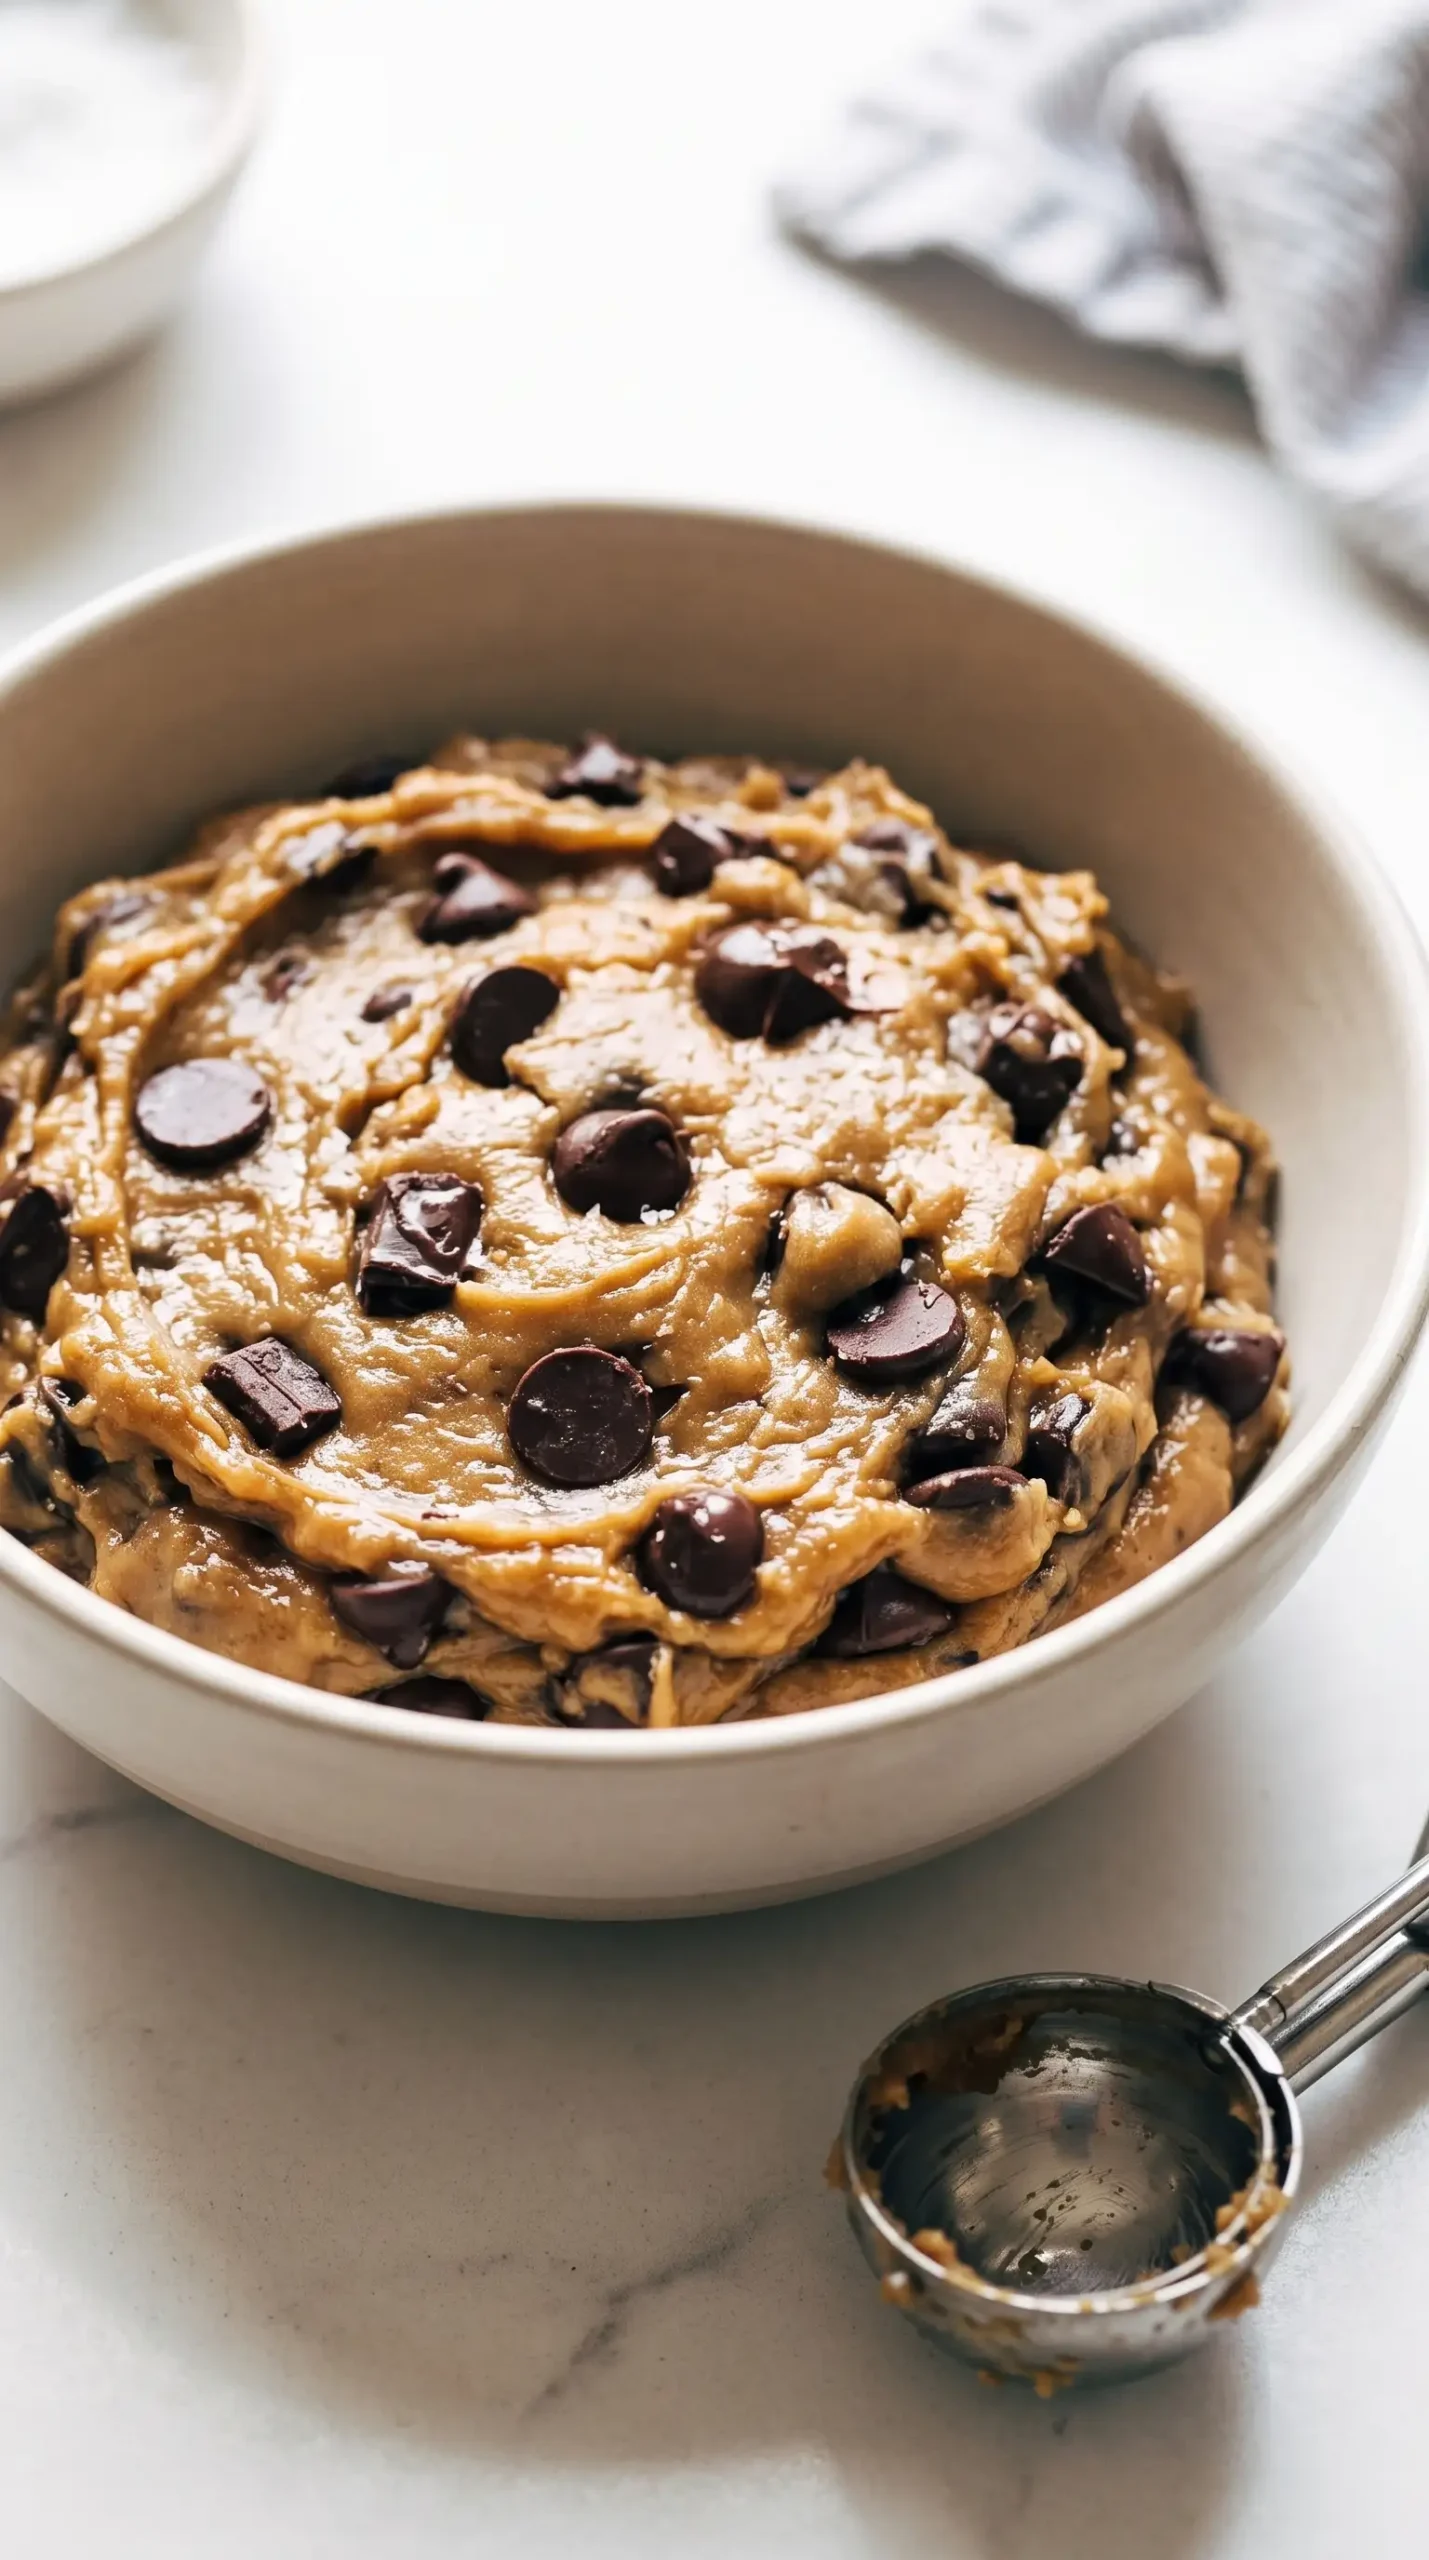
Texture depends on more than the ingredient amounts. The dough needs time after mixing so the flour can absorb moisture and the browned butter flavor can spread throughout the mixture. Skipping these resting periods changes how the cookies bake and how the centers set.
The dense, shiny dough created after mixing flour, leaveners, salt, and the wet ingredients becomes easier to handle after cooling. Waiting before adding the chocolate helps keep the pieces intact instead of allowing them to melt into the dough.
After chocolate chips or chunks are incorporated, another rest allows the dough to develop its finished texture. The result is a cookie that can hold a soft middle while still developing a lightly crisp outside during baking.
Quality Butter Choice Shapes Browned Butter Cookies
Unsalted butter gives the baker control over the salt level while allowing the browned milk solids to provide the main flavor change. Cutting the butter into smaller pieces helps it melt evenly in the skillet, which makes it easier to watch the browning process closely.
Chocolate Pieces Create Balanced Bites in Every Cookie
Chocolate chips and chocolate chunks both work well in browned butter cookies. Chips provide familiar pockets of chocolate, while chunks create larger melted areas throughout the cookie. Rich additions such as peanut butter chocolate chip cookies show how a different base ingredient can shift the balance of sweetness and texture while keeping chocolate at the center. The choice depends on the texture preferred in each bite.
Browning Butter Requires Careful Visual Control
The most important cooking control comes from watching the butter as it moves through several stages. It first melts, then becomes bubbly and foamy before the milk solids begin turning golden. Scraping the bottom of the skillet with a heat-proof spatula helps prevent those solids from burning.
A wide stainless steel skillet makes it easier to observe the color change because the butter spreads across the surface. Swirling the pan encourages even heating and helps reveal when the golden color appears.
Once the butter reaches the desired golden brown shade, transferring it to a cool bowl or measuring cup stops the cooking process. Leaving it in the hot skillet can allow the remaining heat to push the flavor past the ideal point.
Browned Butter Cookies Need These Dough Timing Decisions
Timing choices throughout preparation determine whether the cookies maintain their intended contrast. The dough should cool before chocolate is added because warm dough can soften the chocolate and affect how the pieces appear in the baked cookies.
Several visual signs help guide the process:
- Foamy butter stage: Watch closely as the bubbling changes because browning happens quickly afterward.
- Shiny dough texture: Mix until the ingredients come together without continuing longer than needed.
- Soft center appearance: Remove the cookies when edges look finished while centers remain slightly puffy.
Baking continues briefly after the cookies leave the oven, which is why the resting period on the baking sheet matters. The centers settle and become denser while the outer texture remains pleasantly crisp.
Cookie Dough Mistakes That Affect Browned Butter Cookies
Several common mistakes can change the result of browned butter cookies. The most frequent problems come from rushing temperature changes, skipping rest periods, or pushing the butter beyond its ideal color.
| Problem | What happens | Better approach |
|---|---|---|
| Adding chocolate too soon | Warm dough can soften or melt chocolate pieces | Let the dough cool before mixing in chocolate |
| Over-browning the butter | The flavor can move from toasted to burnt | Remove the butter when it becomes golden brown |
| Skipping dough rest | Flavor and texture development are reduced | Allow the dough to hydrate before baking |
Careful observation solves most issues because the dough and butter provide clear signals. Golden butter, cooled dough, and properly rested cookies all contribute to the intended finish.
Baking Temperature Changes Crispy Chewy Browned Butter Cookies
The oven temperature controls how quickly the edges set while the centers remain soft. Baking until the edges look cooked and the middles are still slightly puffy creates the contrast associated with crispy chewy browned butter cookies.
Resting Creates the Signature Cookie Center
The cookies continue changing after they leave the oven. A short rest allows the warm centers to settle, creating a thicker middle with a texture that feels balanced against the crisp exterior.
Patience during this stage can be difficult because the cookies smell ready immediately. However, moving them too soon can interrupt the natural setting process that gives them their finished structure.
The cooling period also helps the chocolate maintain its position within the cookie. The combination of a stable center, browned butter aroma, and chocolate pockets creates the defining experience of these cookies.
Serving Ideas Keep Chocolate Flavor in Focus
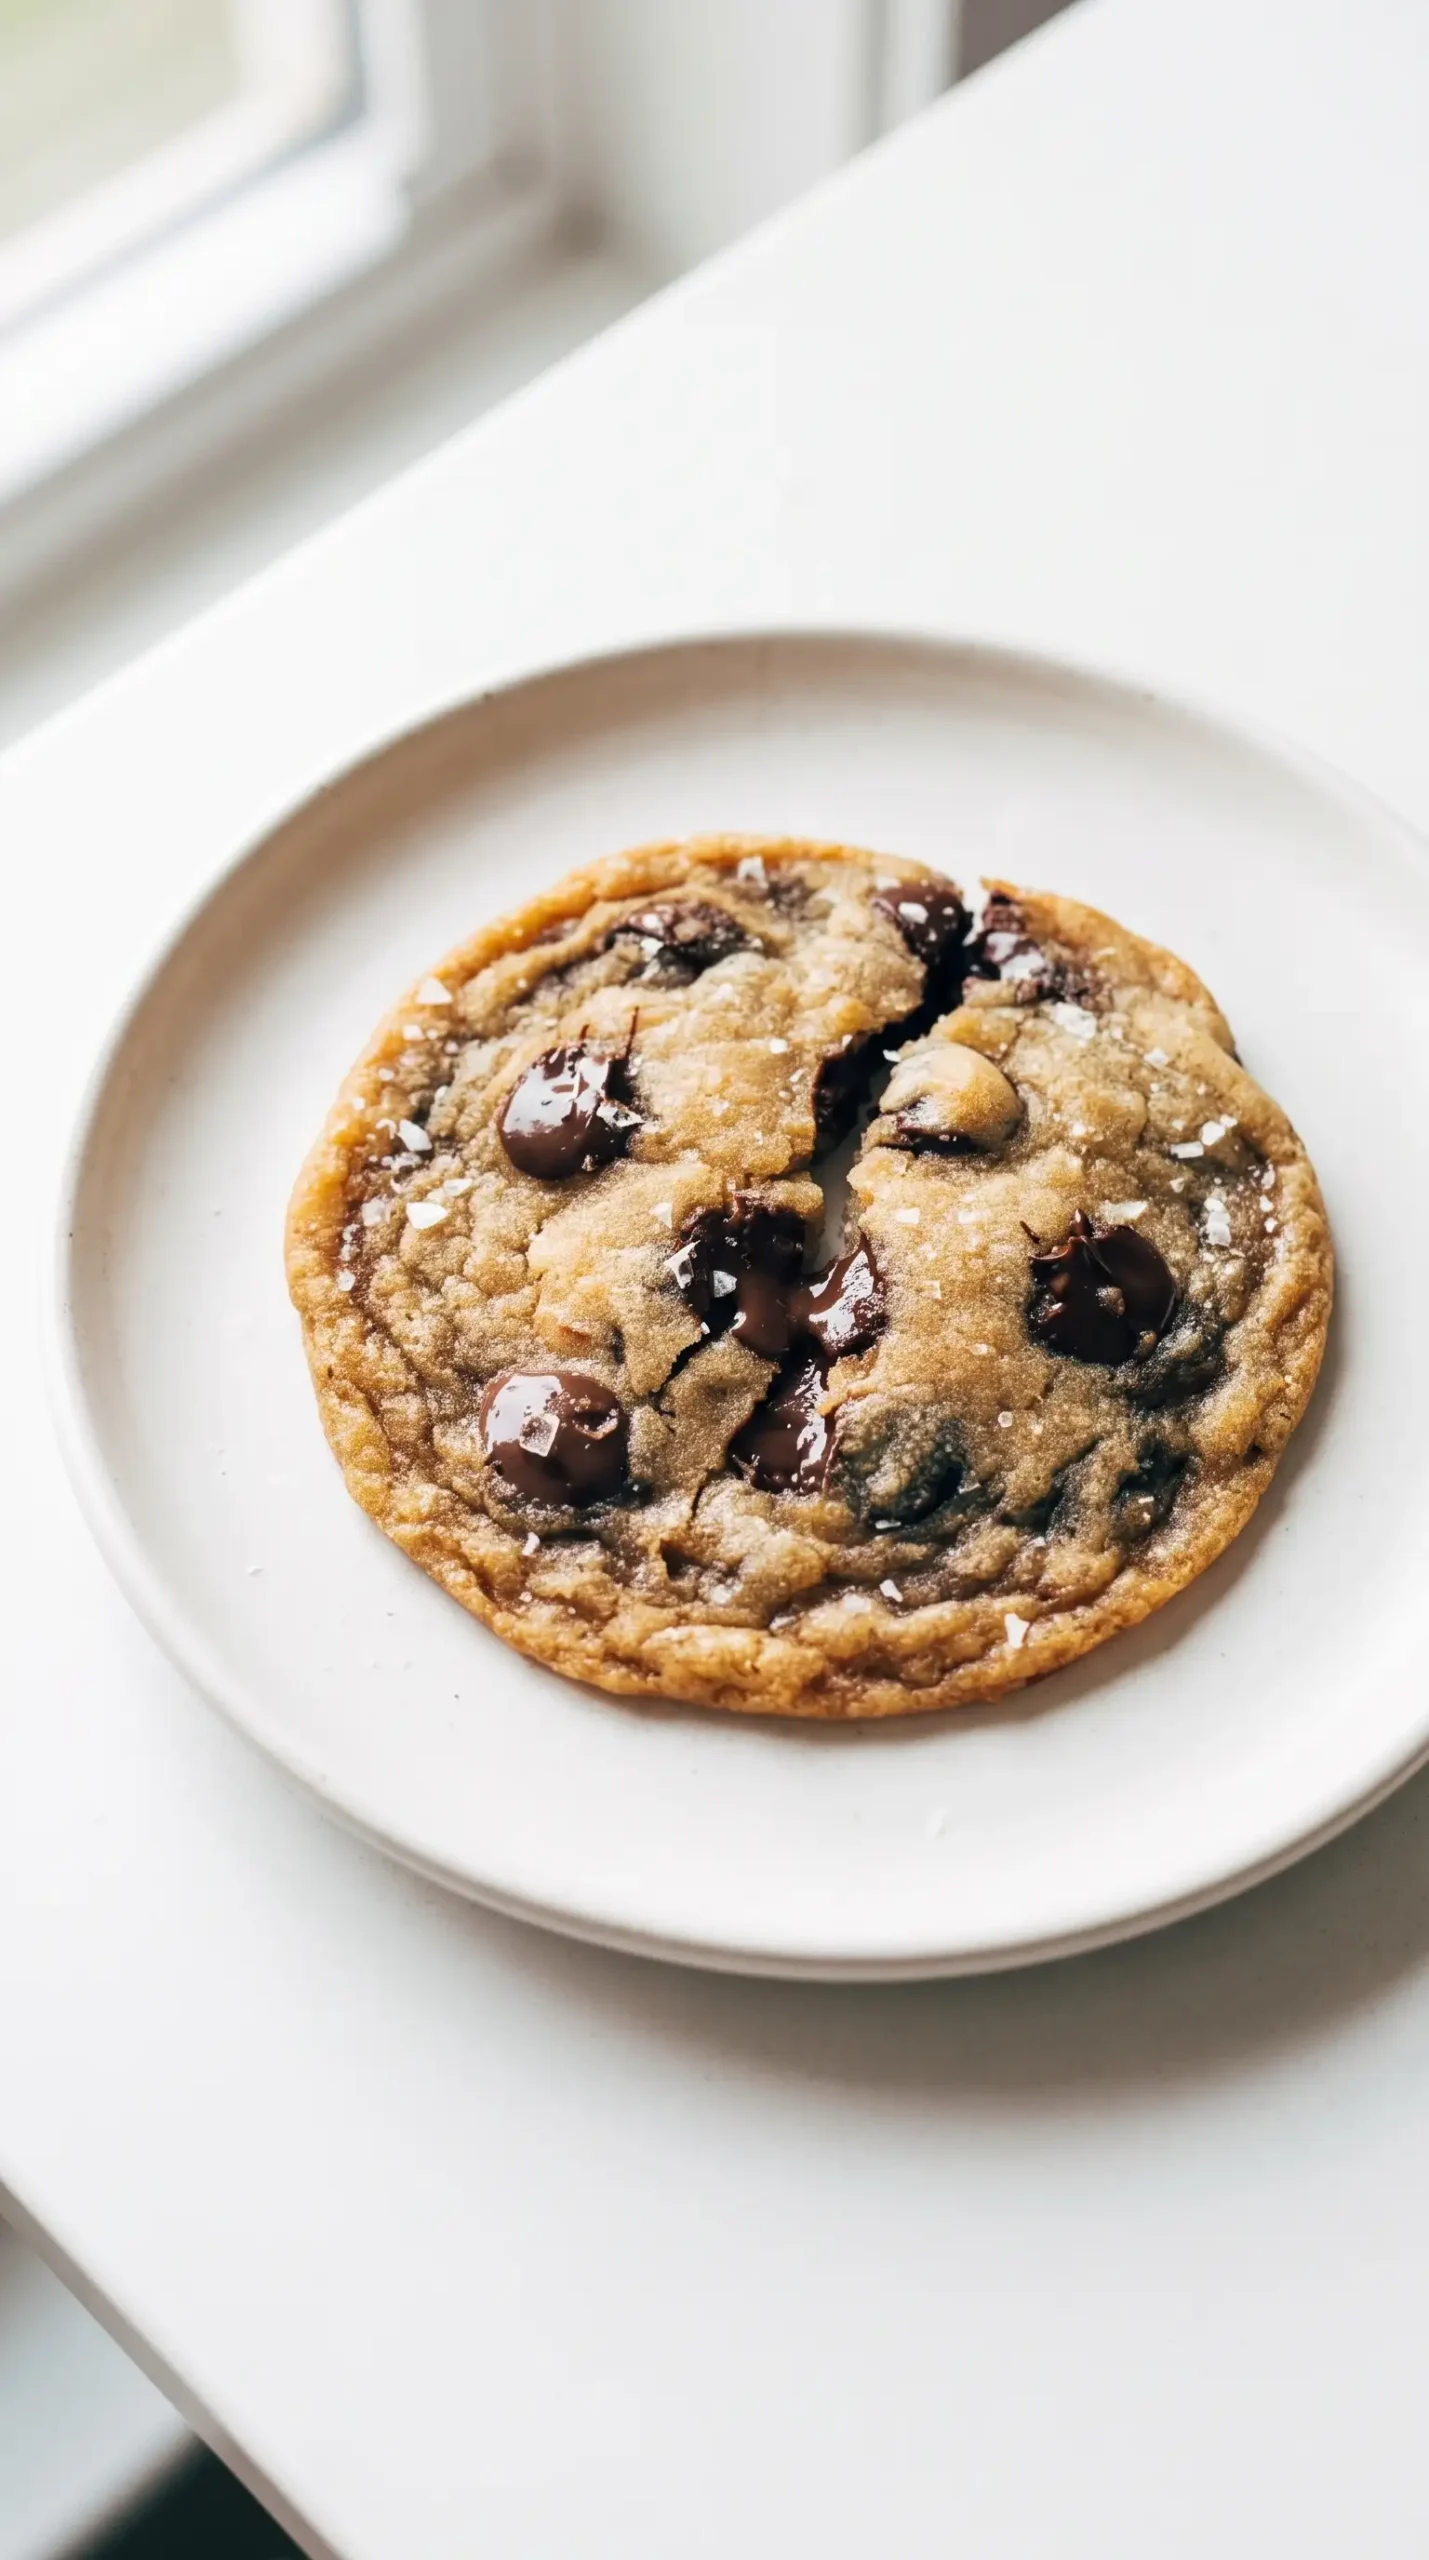
Browned butter cookies are best appreciated when their toasted flavor remains noticeable. Serving them at room temperature highlights the balance between the buttery dough and chocolate pieces without overwhelming the delicate browned notes.
Storing Browned Butter Cookies Preserves Texture
Keeping the cookies in an airtight container helps maintain their texture after baking. If the cookies soften over time, briefly warming them can refresh the chocolate aroma and bring back some of their fresh-baked appeal.
Adjustments For Brown Butter Chocolate Chip Cookie Recipe Success
A brown butter chocolate chip cookie recipe can be adapted through small choices while keeping the essential method intact. Chocolate chips and chunks create different eating experiences, and the amount of chocolate can be adjusted according to personal preference within the structure of the dough.
For bakers who prefer a stronger browned butter character, careful attention to the butter stage is more effective than adding extra flavorings. The toasted notes come from the browning process itself.
Cookie size also influences the finished bite. Larger scoops create more noticeable soft centers, while smaller portions may develop more edge texture. Maintaining consistent dough portions helps cookies bake evenly.
Browned Butter Cookies Deliver Their Best Contrast Through Timing
Browned butter cookies achieve their memorable texture when heat and patience work together. Golden butter creates the foundation, rested dough develops the structure, and careful baking preserves the difference between crisp edges and a soft center.
The most important decisions happen before the first bite: stopping the butter at the right color, protecting the chocolate from excess heat, and allowing the baked cookies to settle. Those details define the finished cookie more than any single ingredient.
Browned Butter Cookies Texture and Troubleshooting Questions
Why does my browned butter look darker than expected?
Butter can continue cooking from residual heat after it is removed from the skillet. Transfer it once the color reaches a golden brown shade to prevent the milk solids from becoming burnt.
Can I use chocolate chunks in browned butter cookies?
Yes, chocolate chunks work well because they create larger areas of melted chocolate throughout the cookie. They can be mixed in after the dough has cooled enough to prevent early melting.
Why do my cookies spread too much?
Cookies may spread differently depending on dough temperature and resting time. Allowing the dough to cool and rest helps it develop a better structure before baking.
How can I keep the centers soft after baking?
Remove the cookies when the edges appear cooked but the centers are still slightly soft and puffy. Letting them rest after baking allows the centers to set without losing their tender texture.
What makes browned butter cookies taste different?
The browned butter creates toasted, nutty flavors that regular melted butter does not provide. Those flavors combine with vanilla, sugars, and chocolate to create a more layered cookie.
Browned Butter Cookies with Chocolate Chips and Vanilla
Browned butter cookies deliver a rich, nutty chocolate chip cookie experience with crisp edges and a soft, tender center. These cookies are perfect when you want a classic dessert with deeper flavor and bakery-style texture.
Ingredients
Method
Preparation
- Cut the butter into small pieces. Melt it in a wide stainless steel skillet over medium heat, swirling the pan occasionally as it melts.
- Continue heating as the butter becomes bubbly and foamy, scraping the bottom with a heat-proof spatula to prevent burning. Once the butter turns golden brown, transfer it to a cool bowl or glass measuring cup and cool for 5-10 minutes.
- Add the browned butter, sugars, and vanilla to an electric mixer bowl. Beat on medium-high speed for 2-3 minutes.
- Add the eggs and mix for 1-2 minutes until the mixture is smooth and glossy.
- Add the flour, baking soda, baking powder, and salt. Mix just until a dense, shiny dough forms. Cool the dough for 15-20 minutes before adding chocolate.
Mixing
- Fold in the chocolate chips or chocolate chunks. Allow the dough to rest for another 20-30 minutes before baking.
Baking
- Preheat the oven to 350°F (177°C). Scoop or roll the dough into 3-tablespoon balls and place them on a baking sheet.
- Bake for 9 minutes, until the edges appear cooked while the centers remain slightly soft and puffy.
- Remove the cookies from the oven and let them rest for 15-20 minutes so the centers can set.
Notes
Cool the dough before mixing in the chocolate chips or chunks to help prevent them from melting into the dough.