From breakfast to dinner, from wholesome meals to indulgent desserts, Nexa Recipes offers quick, easy, and delicious ideas for every occasion and every moment.



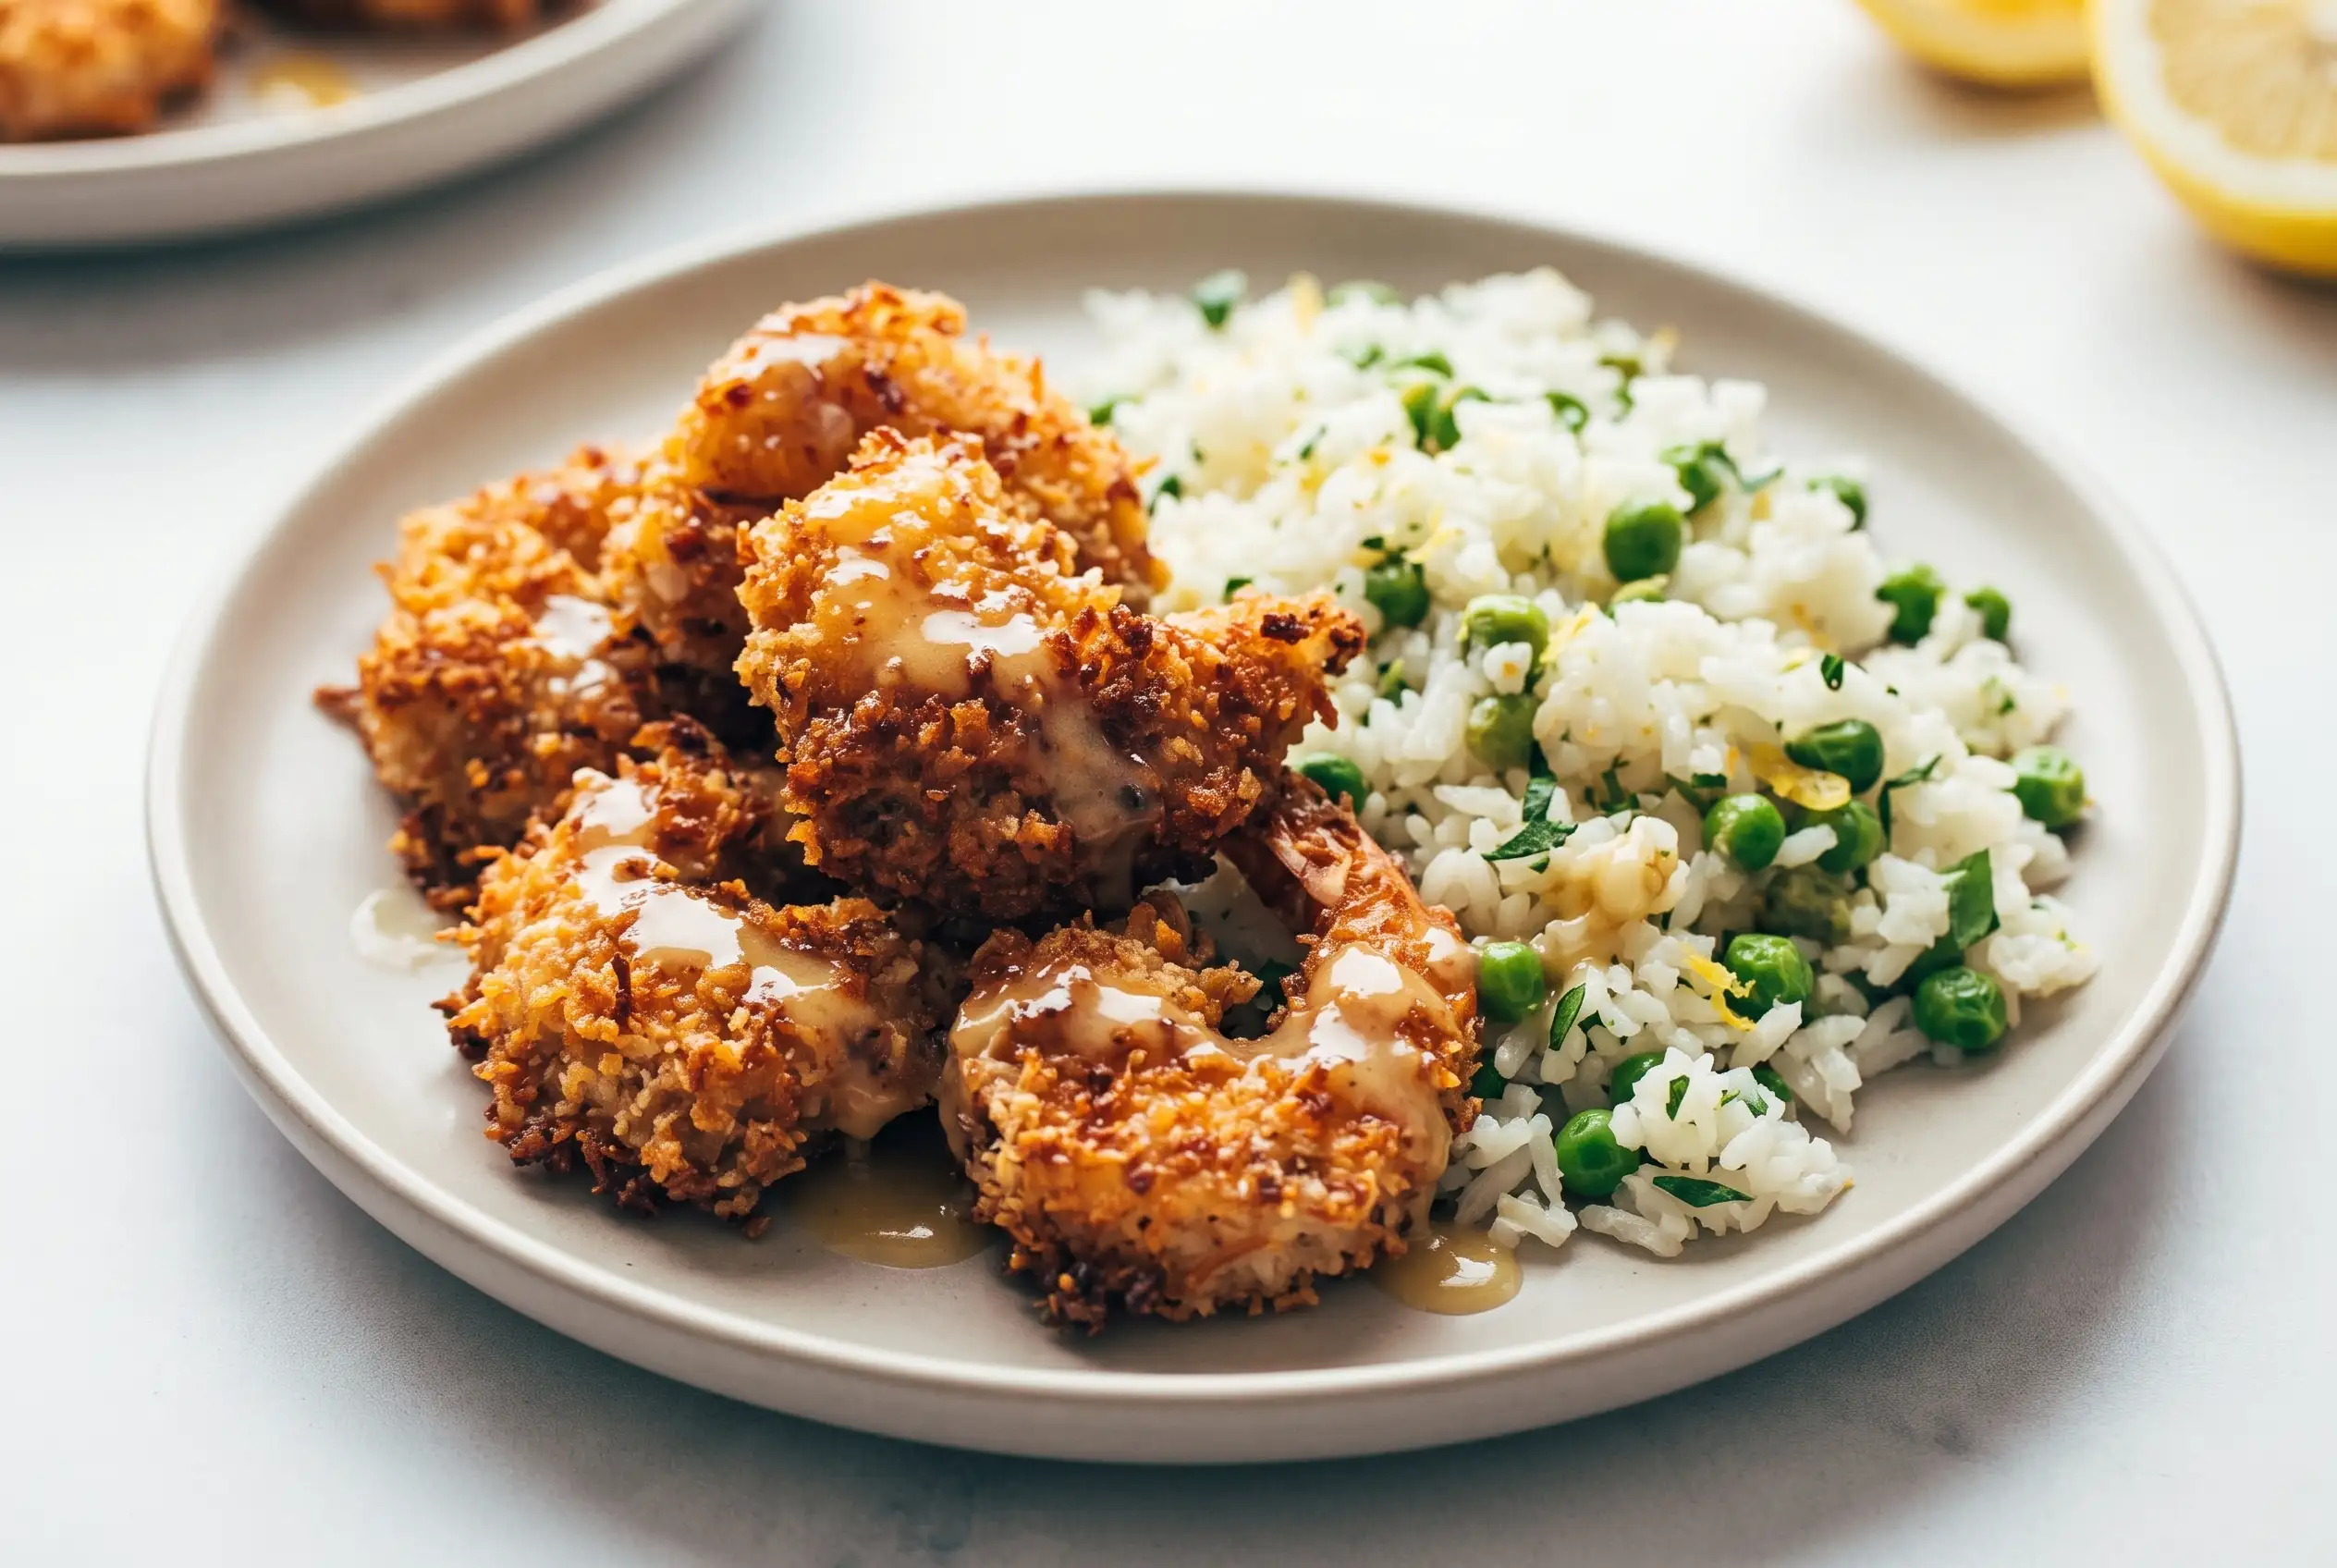 This Recipe
Baked Coconut Shrimp Creates a Crispy Coconut Coating
Baked coconut shrimp brings together golden coconut crusted shrimp, fragrant jasmine rice, sweet peas, and a smooth honey butter sauce shrimp finish for a complete dinner with contrasting textures. The oven method creates a lighter approach to a classic coconut shrimp dish while keeping the coating crisp and flavorful.
The appeal of this baked coconut shrimp recipe comes from how each part supports the others. The crunchy shrimp needs a fresh, bright base, and the rice provides that foundation with lemon, herbs, garlic, and peas folded through the grains. A drizzle of honey butter sauce adds richness that connects the toasted coating with the savory sides.
Using the oven for the shrimp also makes the preparation easier to coordinate. Toasting the coconut and panko first develops deeper flavor, then a short bake finishes the shrimp while keeping the coating visibly golden.
Toasted Coconut and Jasmine Rice Shape the Plate
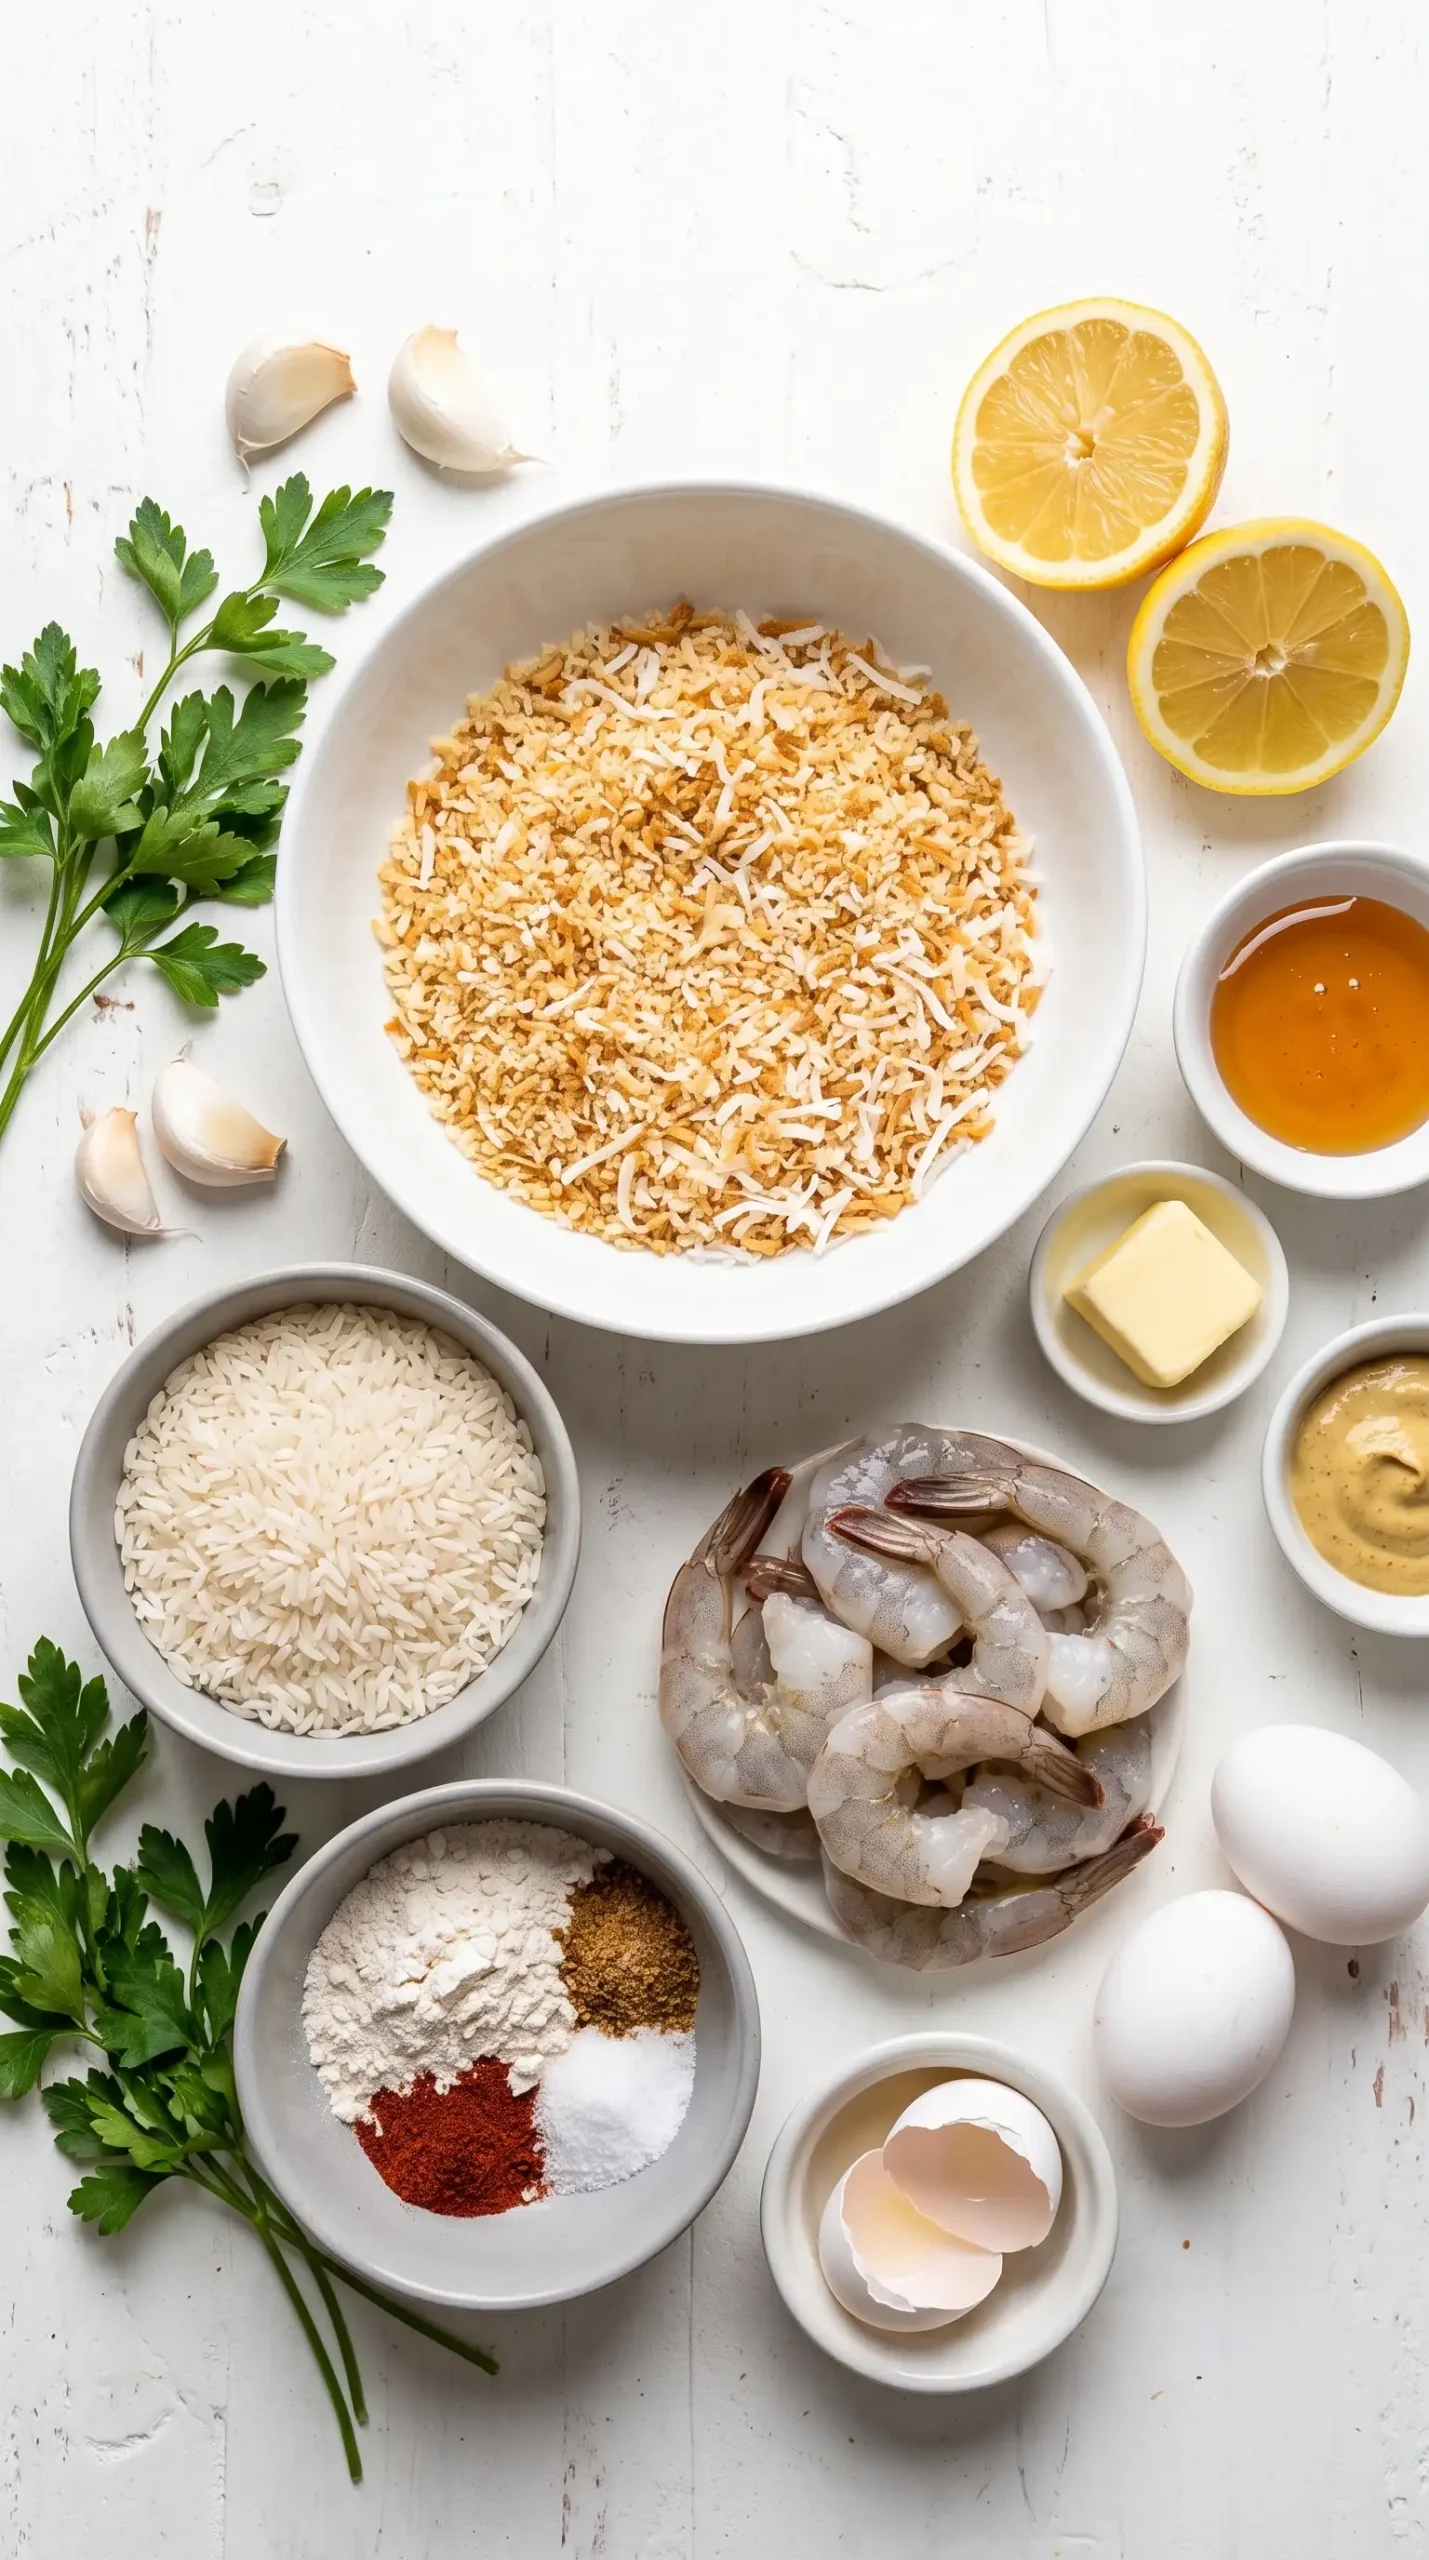
The ingredient choices most influence the texture of this dish. Toasted coconut flakes and panko breadcrumbs create the outer layer for the shrimp, and the combination works because both elements are prepared before coating. The coconut develops a warmer flavor while the panko helps create a structured crust.
Jasmine rice provides the soft, aromatic base that carries the brighter additions. Adding peas, lemon zest, lemon juice, herbs or greens, garlic, and butter after cooking keeps those flavors noticeable without overwhelming the shrimp.
The coconut mixture can be adjusted according to preference. Sweetened coconut creates a more dessert-like contrast with the honey sauce, while unsweetened coconut keeps the savory shrimp flavors more prominent. Either choice works when balanced with the Dijon mustard in the sauce.
| Component | Preparation choice | Effect on the dish |
|---|---|---|
| Coconut flakes | Sweetened or unsweetened | Changes the level of sweetness in the crust |
| Panko breadcrumbs | Toasted before coating | Adds a deeper golden crunch |
| Jasmine rice | Fluffed after cooking | Creates a light base for the shrimp |
| Peas and herbs | Folded in after cooking | Brings freshness and color to the plate |
Honey Butter Sauce Shrimp Gets Balance from Sweet and Tangy Notes
The honey butter sauce shrimp finish depends on a simple balance of melted butter, honey, and Dijon mustard. The sweetness complements the coconut coating, while the mustard adds enough sharpness to keep the sauce from tasting one-dimensional.
Rice Fluffing Keeps the Springy Texture Intact
Cooked jasmine rice needs gentle handling once it is ready for the plate. Fluffing with a fork separates the grains and creates space for the peas, herbs, garlic, lemon, and butter to spread throughout the mixture.
The warm rice also helps soften the butter and heat the peas without requiring another cooking step. Stirring carefully prevents the grains from becoming packed together, which would make the rice feel heavy next to the crisp shrimp.
The supporting flavors should stay bright. Lemon zest and juice add freshness, while herbs or greens create a contrast against the richer coconut coating and honey butter drizzle.
Toasting Panko and Coconut Improves Shrimp Crunch
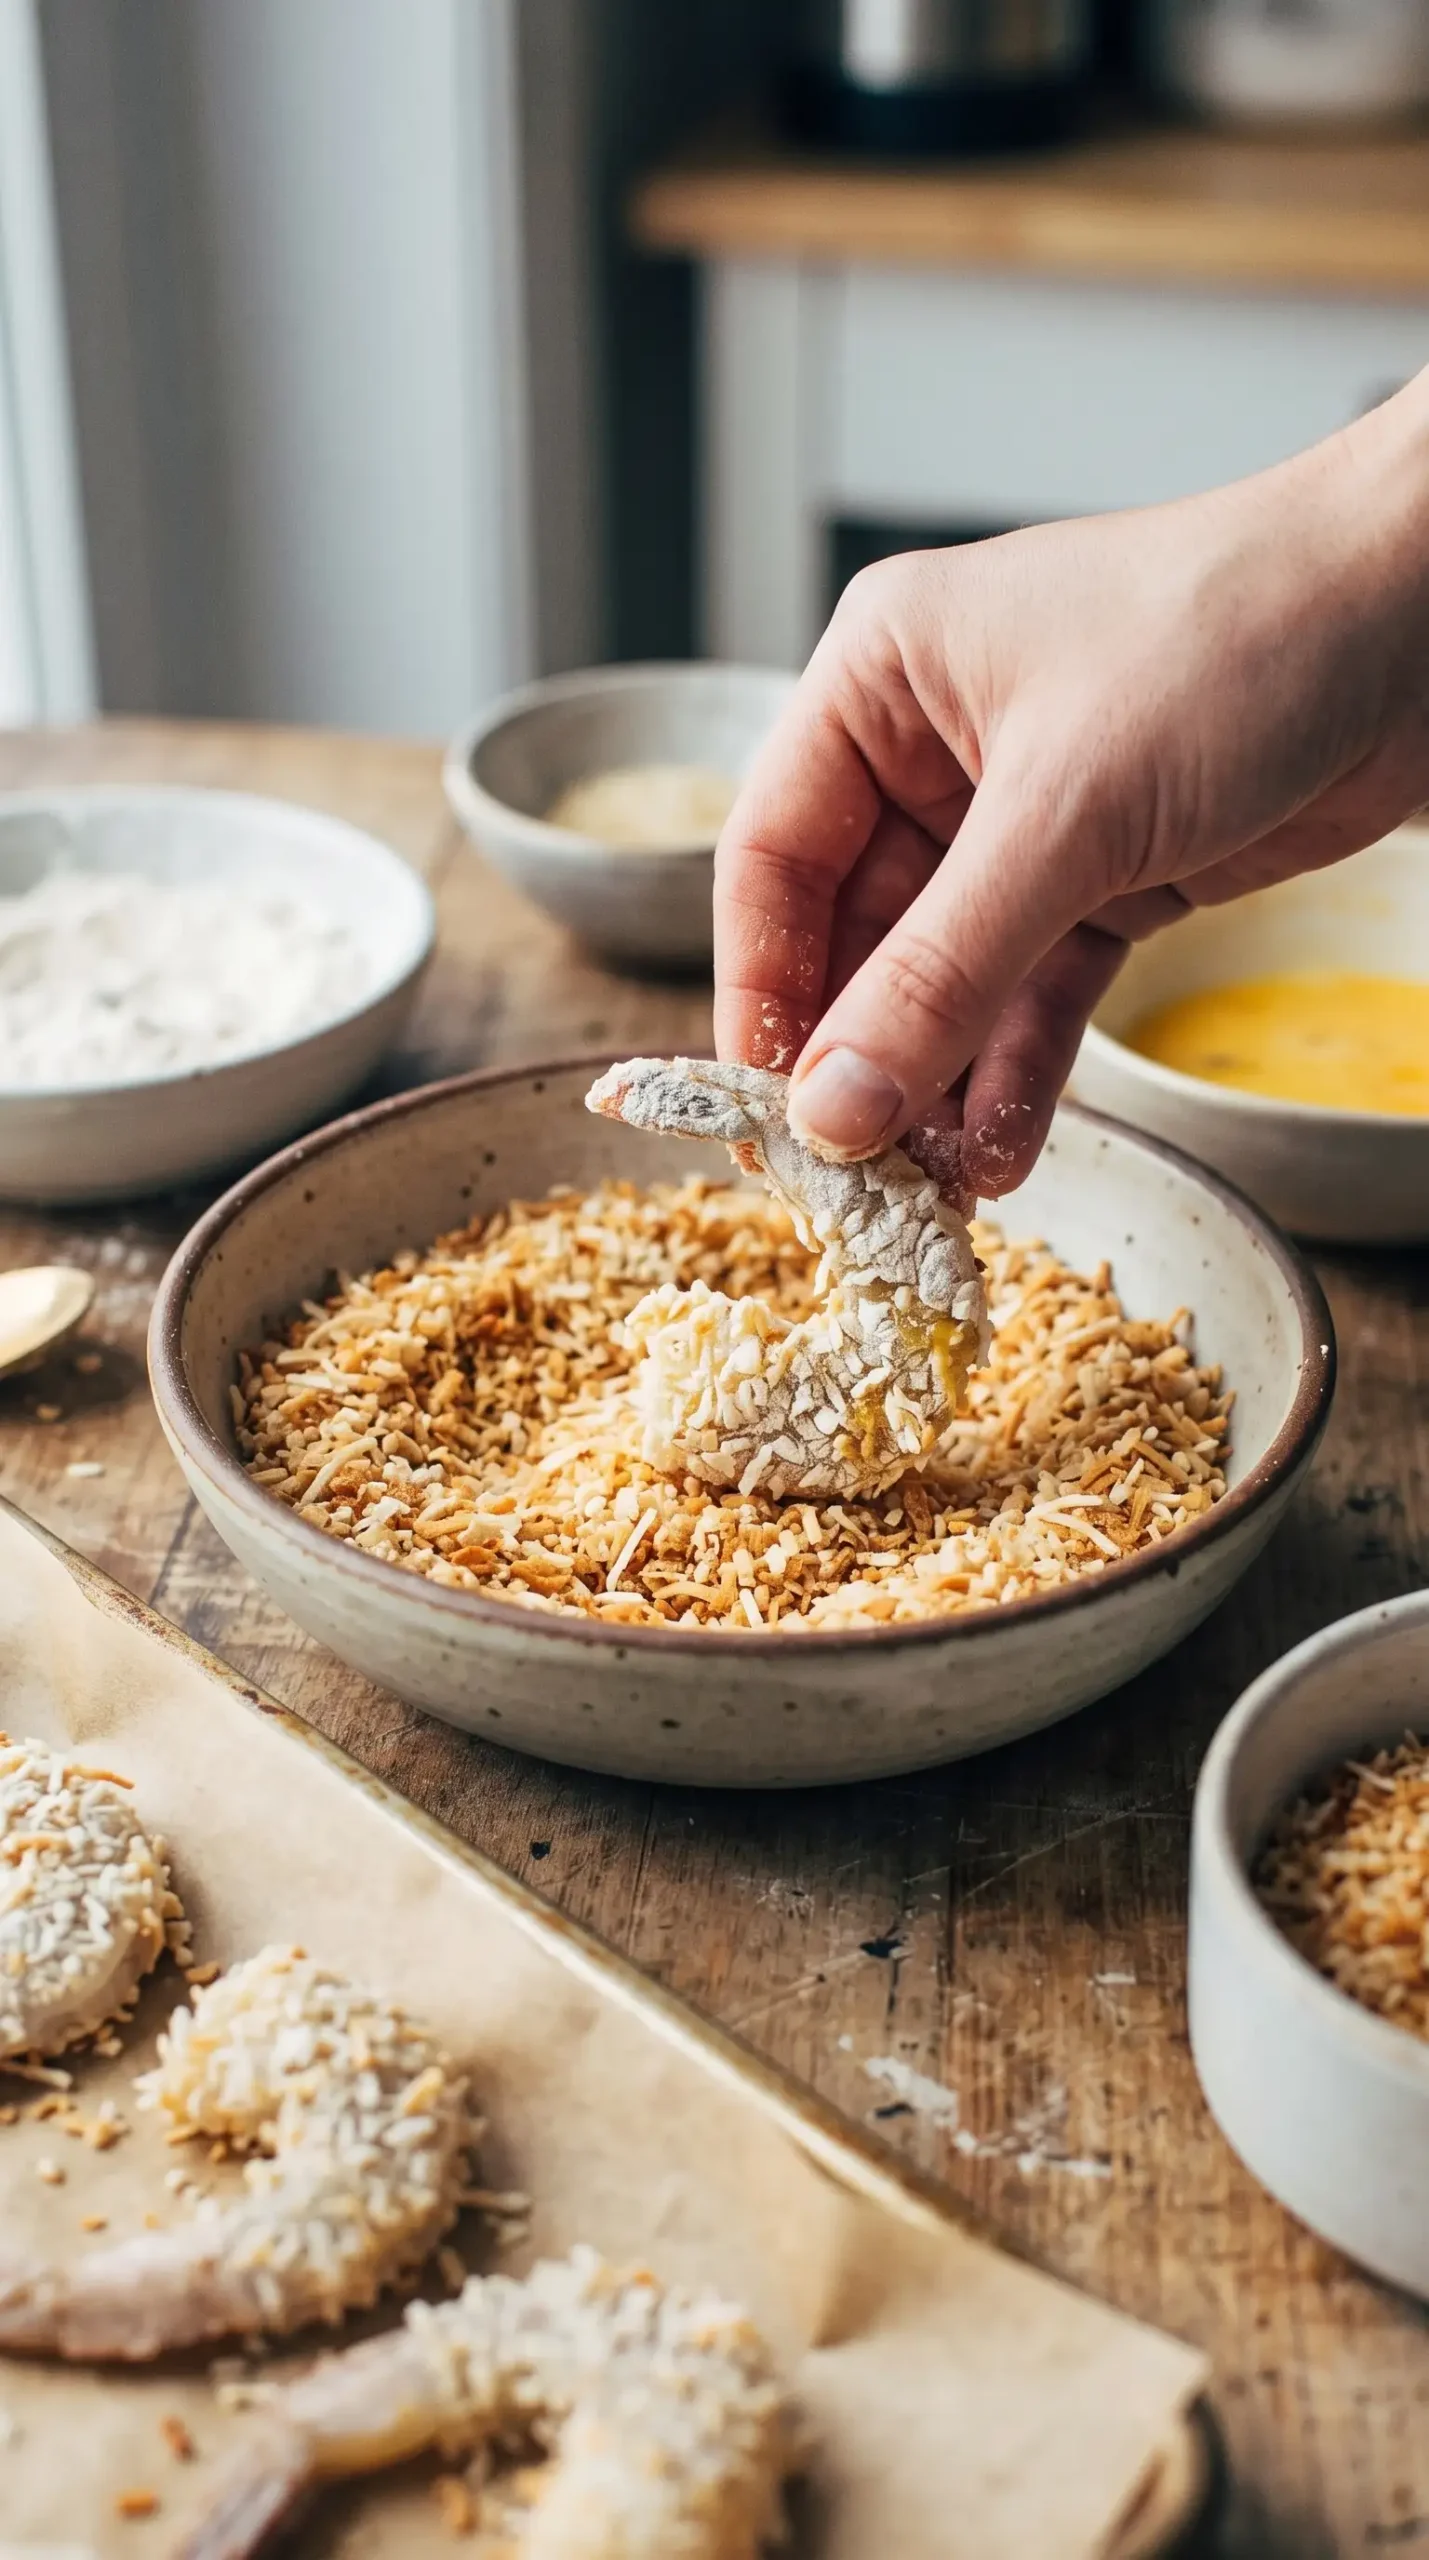
The most important cooking control for baked coconut shrimp happens before the shrimp enters the oven. Toasting the panko and coconut first removes some moisture and develops a golden color that the shorter shrimp bake cannot create as easily.
Coating technique also affects the finished texture. A light flour layer helps the egg adhere, and pressing the shrimp into the toasted coconut mixture helps the crust stay attached during baking.
Spacing the coated shrimp on the baking sheet allows the hot oven air to reach the surface. A crowded pan can trap moisture around the coating and reduce the crisp texture that makes coconut shrimp appealing.
Coconut Shrimp Mistakes That Lead to Soft Coating
Several small choices can change the result of coconut shrimp. Avoiding these common problems helps preserve the contrast between the crunchy exterior and tender shrimp.
- Skipping the toast: Untoasted coconut and panko may not develop the same color or depth of flavor.
- Loose coating: Failing to press the coconut mixture onto the shrimp can leave bare areas after baking.
- Overhandling shrimp: Excessive movement after coating can knock off the crust before it sets.
- Heavy sauce coverage: Pouring too much sauce over the shrimp at once can soften the crisp coating.
Tailoring the process to the shrimp size also matters. Large shrimp should remain easy to handle while being fully covered with the coconut mixture, creating an even surface for baking.
Shrimp Tail Choices Change Serving Style
Removing the shrimp tails makes the meal easier to eat with rice because each piece can be enjoyed without stopping to discard the shell. Keeping tails attached can create a more decorative presentation for gatherings or finger-food serving.
Baking Temperature Decisions Protect the Shrimp Texture
The oven sequence used for baked coconut shrimp separates flavor development from cooking the seafood. Careful temperature control helps protect moisture in baked shrimp with feta, where the seafood finishes with a tender texture and a flavorful topping.
Shrimp cooks fast, so attention to timing helps maintain a tender center. The coating should look golden and set, while the shrimp should remain moist instead of becoming firm and dry.
For a reliable doneness check, shrimp should reach a 145°F internal temperature before serving, helping confirm that the seafood is safely cooked while maintaining its tender texture.
Lightly adding oil before baking helps the crust brown. The coating already contains toasted ingredients, so a small amount of added moisture and fat supports the crisp surface without making it greasy.
Pairing Peas Herbs and Lemon Builds the Rice Finish
The rice becomes a complete side when the peas, citrus, herbs, garlic, and butter are folded together. These additions bring color and freshness that balance the sweetness of the coconut and honey sauce.
Preparing the Coating Bowls Makes Baked Coconut Shrimp Easier
Setting up the flour mixture, beaten eggs, and toasted coconut mixture before coating creates a smoother workflow. The shrimp can move through each stage without interruptions, helping the crust stay consistent across the batch.
Some cooks prefer coating all the shrimp in the seasoned flour first, then moving through the egg and coconut layers. This approach reduces repeated handling and keeps the process cleaner.
The same preparation method works well when serving a group. Having the coating station ready makes it easier to assemble the shrimp while the rice and sauce components are prepared separately.
Serving Ideas Keep Coconut Shrimp with Rice Flexible
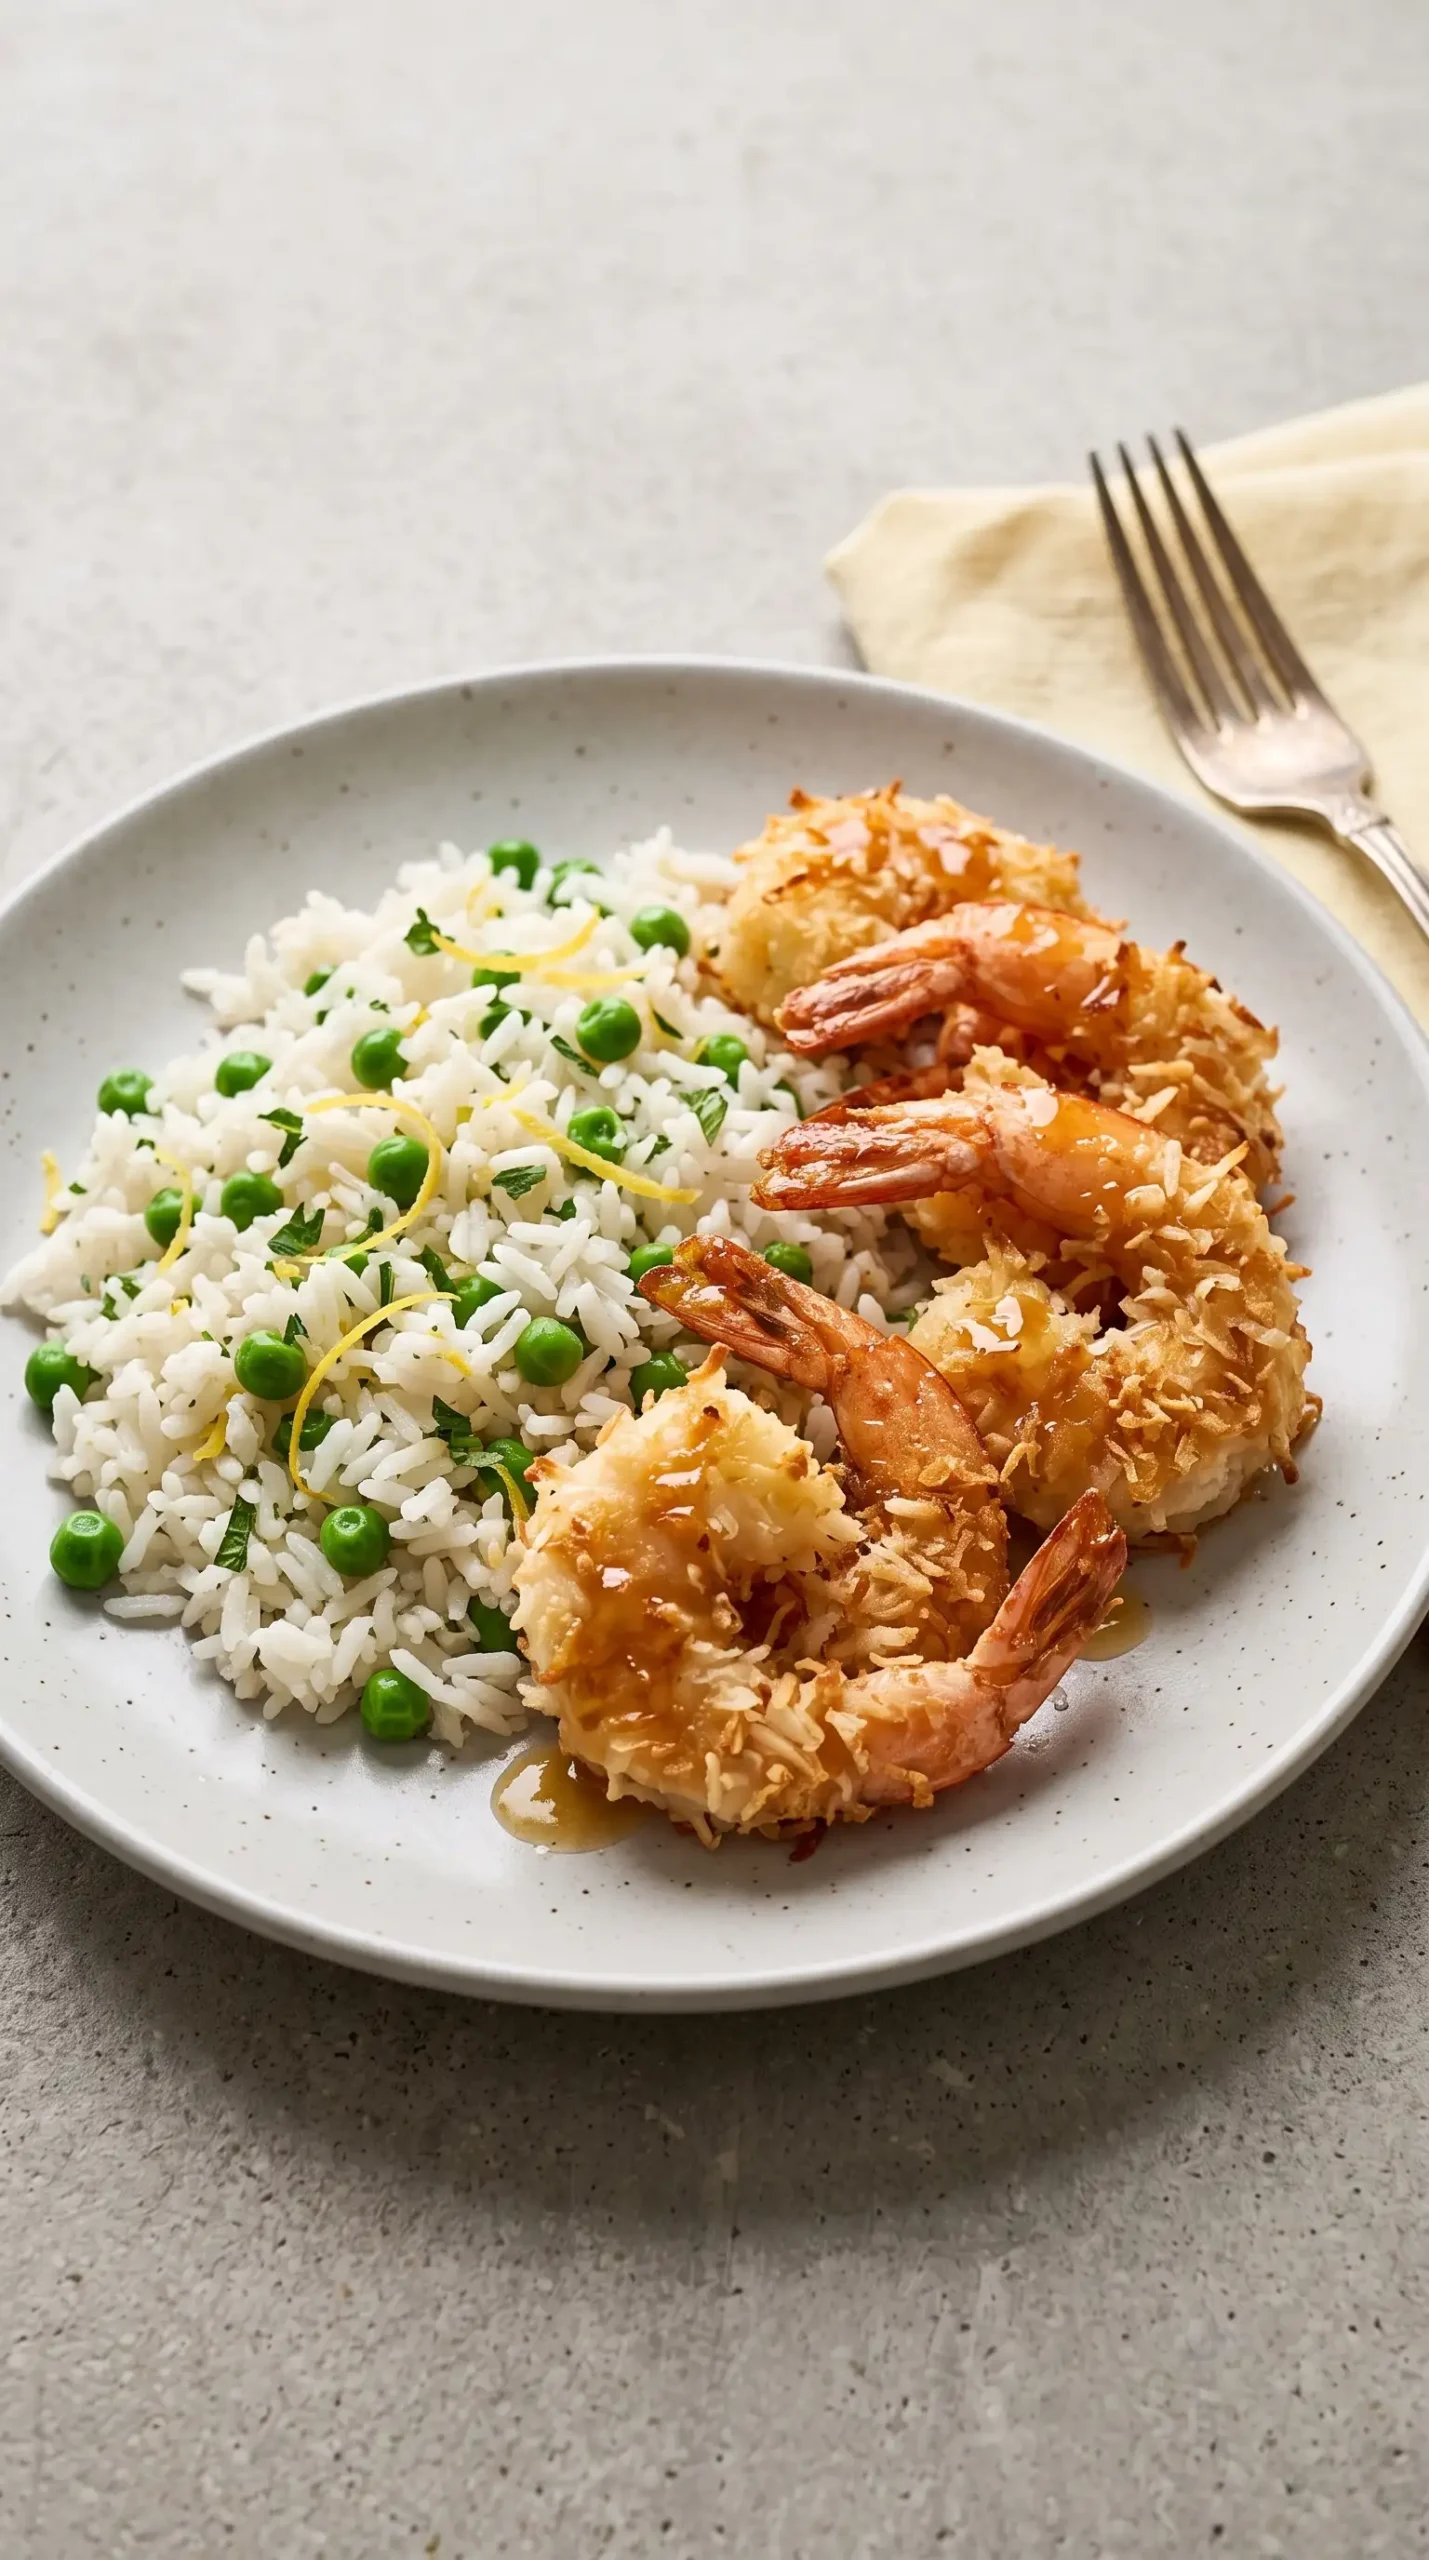
Coconut shrimp with rice works as a plated dinner with a generous spoonful of jasmine rice underneath and sauce drizzled over the top. Extra lemon or fresh herbs can brighten individual servings without changing the main flavors.
Storage and Reheating Preserve the Meal Components
Keeping the shrimp, rice, and sauce separate after serving helps maintain their individual textures. The coconut coating is most enjoyable when it stays distinct from the moisture in the sauce.
Reheating should focus on warming the food gently. The shrimp can lose some crispness after storage, so reheating in an oven or air fryer can help restore some surface texture.
Leftover rice can be refreshed with a small amount of moisture while warming. Adding sauce again after reheating keeps the honey butter flavor noticeable without soaking the coating during storage.
Baked Coconut Shrimp Brings Crunch and Freshness Together
Baked coconut shrimp succeeds because the cooking choices work toward the same result: a crisp coating, tender shrimp, bright rice, and a sauce that ties the flavors together. Toasting the coconut mixture and keeping the rice light are the two decisions that most influence the finished plate.
The combination of sweet coconut, citrusy jasmine rice, and honey butter sauce creates a meal where every element has a clear purpose. Careful handling keeps the shrimp coating intact while allowing the fresh flavors to remain visible.
Honey Butter Sauce Shrimp Questions and Answers
Can baked coconut shrimp use frozen shrimp?
Frozen shrimp can work if it is fully thawed before coating. Removing excess moisture with a gentle pat dry helps the flour, egg, and coconut mixture adhere more effectively.
How can the coconut shrimp coating stay crispy?
Keep the sauce separate until serving and avoid covering the shrimp while it is still hot. Trapped steam can soften the toasted coconut and panko crust.
Can the honey butter sauce be made spicier?
Yes, the sauce can include additions such as red pepper flakes or chili paste to create a sweet and spicy contrast with the coconut coating.
Should shrimp tails stay on for baked coconut shrimp?
Tails are optional and depend on how the dish will be served. Tail-free shrimp are easier to combine with rice, while tails can make the presentation more decorative.
What rice works best with coconut shrimp?
Jasmine rice pairs well because its aroma and soft texture complement the crunchy shrimp and fresh additions like lemon, herbs, and peas.
Baked Coconut Shrimp with Honey Butter Sauce and Rice
Baked coconut shrimp is a crispy, flavorful dinner featuring a golden coconut coating, tender shrimp, and a bright honey butter sauce finish. It is a comforting meal that works well for easy weeknight dinners or sharing with family.
Ingredients
Method
Preparation
- Cook the rice according to package directions.
- Heat the oven to 325 degrees (163°C). Spread the panko breadcrumbs and coconut flakes on a baking sheet and toast for 10-15 minutes, stirring occasionally, until browned. Remove from the oven, then increase the oven temperature to 425 degrees (218°C).
- Prepare three bowls: one with flour, paprika, and salt; one with beaten egg; and one with the toasted coconut and panko mixture. Coat each shrimp in the flour mixture, dip in egg, then press into the toasted coating until covered. Return the coated shrimp to the baking sheet and spritz or drizzle with oil.
Baking
- Bake the coated shrimp at 425 degrees (218°C) for 10 minutes.
Assembly
- Fold peas, lemon juice and zest, herbs, garlic, and butter into the hot rice, gently fluffing with a fork until combined and the peas are warmed through.
- Whisk melted butter with honey and Dijon mustard to make the sauce.
- Serve the shrimp with the rice and drizzle generously with the honey butter sauce.
Notes
The shrimp are easier to eat with the tails removed because they can be served directly with the rice. For a more decorative presentation or a finger-food style serving, the tails can be left on. The recipe amount works well for a family of four with young children and little to no leftovers; for larger groups or bigger appetites, double the amounts.